Overland Trailer Build – Part 4

The next phase was to finish up little details of the trailer. A quick trip over to Miller Decals was in order for them to lay on a mountain scene on each of the side doors. The graphic was purchased from a store on Etsy.

The lights were installed and everything rewired. Spare tire mounted.

Here is a view of the water filler cap. This will allow us to fill the 20gal water tank mounted below the trailer in the original fuel tank location.

Here you can see the 20gal tank. I have yet to plumb all the fill lines – that will have to wait until we get to Arizona! The water system will have a 12v pump to pressurize the water for showers, washing dishes, and anything else. The water tank and all components are food grade so the water could be potable.

Please stay tuned for more as we trek across the US to our new home in Arizona.

Overland Trailer Build – Part 3

The next phase was off to Custom Coaters Atlanta for some sand blasting and powder coating. Scott Harper did a fantastic job.

https://www.customcoatersatl.com/

The trailer was completely dissembled, sand blasted, and powder coated. The frame was coated in flat textured black, along with the fenders and rollbar / rack.

Each of the panels were also blasted inside and out, and coated to match the Gobi Tan of the Jeep.

Assembly starts…

33 Toyo Open Country MT wrap the Trail Master 15 x 8 steel wheels.

Stay tuned for part 4 of the build.

Overland Trailer Build – Part 2

The next phase of the project was to get some metal work done on the trailer. James Atwell over at Stage Left Fabrication took great care of my “To Do” list on the trailer. If you need some fab work and are located in the North Georgia area check him out. http://www.stageleftfab.com

The “To Do” list included:

Extending the tongue by 2′ and replacing the old tongue jack with a new jack with 8″wheel.

Fabrication of a plate for the water filler connector. This will allow us to easily fill the 20gal tank that will reside under the frame in the original fuel tank location.

Welding a Rock plate to the front cut from diamond tread steel.

Trimming the fenders and reenforcing them with tube steel.

Welding on the extended hangers for the front leaf spring.

A exo-skeleton / roof rack to support a future RTT or cargo basket.

Along with extending the tongue was to build out the front to support a storage box and spare tire.

The next phase was to get it all stripped back down to head off to the powder coaters. The coater will completely dissemble it, blast it and color match the cabinet to the Gobi tan of the Jeep.

While at the coaters I cleaned up the axle, hangers, and replaced the hubs for new ones.

Stay tuned for part 3 of the finial assembly.

A New Chapter…

In just a few short days we are starting a new chapter in our life and our offroad  adventures. We’ll be moving to Arizona at the end of this year.   We want to thank everyone for your continued support and encouragement.


Please continue to follow in our adventures and journeys as we start to explore Arizona and the surrounding Southwestern United States.

Overland Trailer Build – Part 1

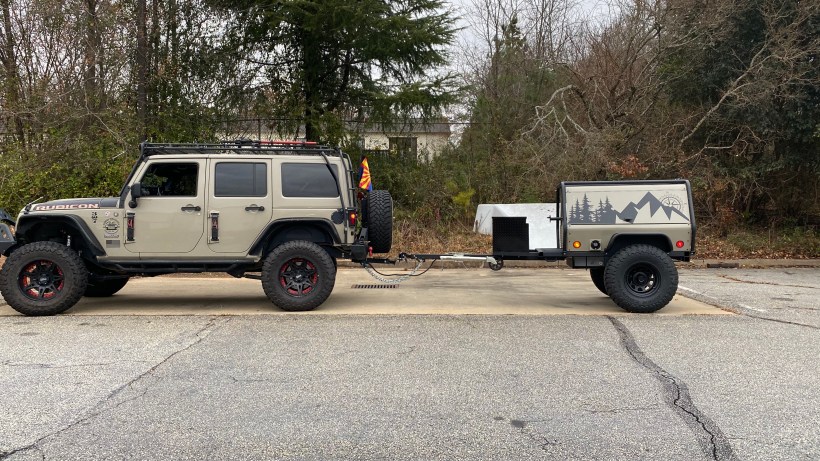
As some of you know we sold our overland camping trailer several months back. There were several reasons for selling it, mainly weight with it coming in at 1800+lbs, and that I had also built a sleeping platform in the Jeep.

But there was still a desire for a smaller lightweight trailer to be used for haul all our gear during extended camping excursions. Sleeping in the jeep was great, but it was a hassle to remove all our gear while sleeping.

With that in mind I started looking for a small platform trailer to use as a base. I wanted something small, light, and able to store gear out of the elements and securely.

After seeing one other person start a similar build off the same platform I knew this would fit the bill nicely.

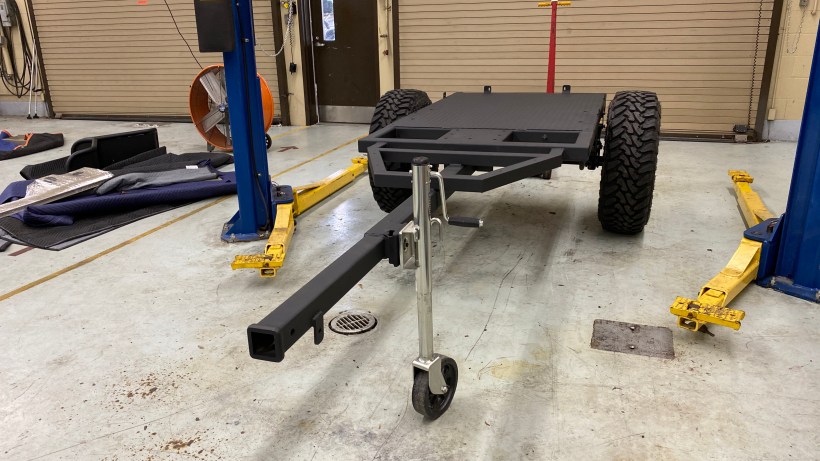
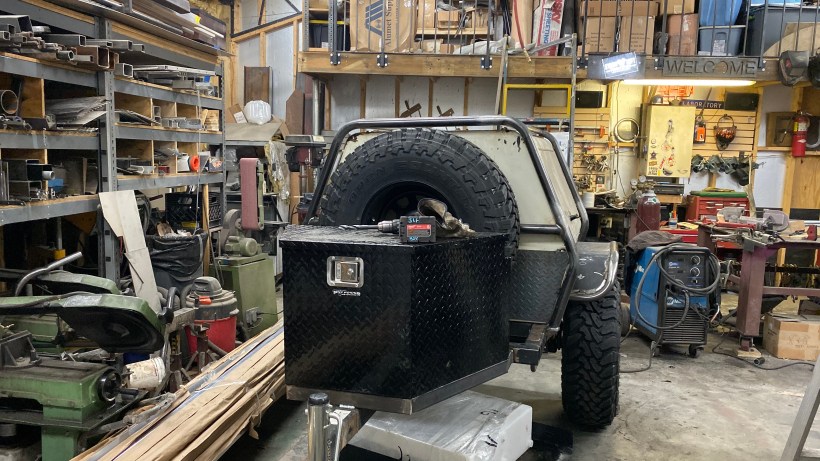
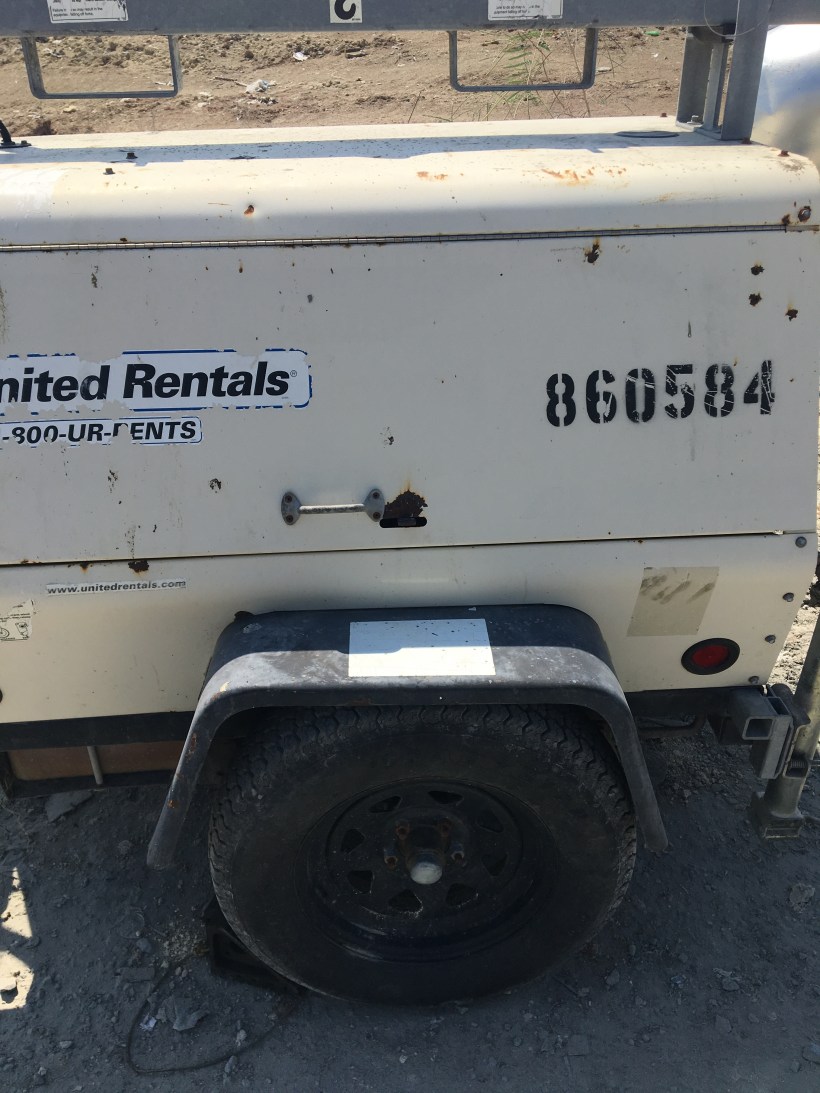
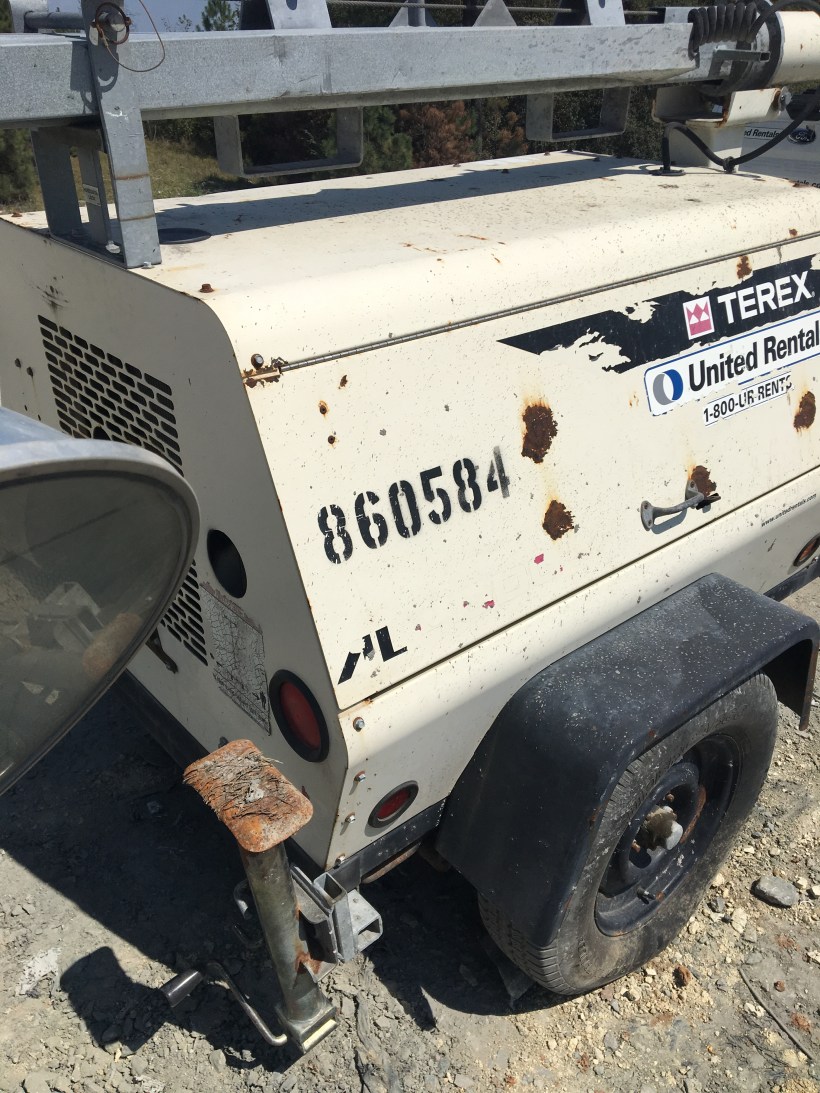
It’s a construction light tower. This particular one is an Terex / Amida AL4000. I was able to find a used one from United Rentals for a decent price and in good condition.

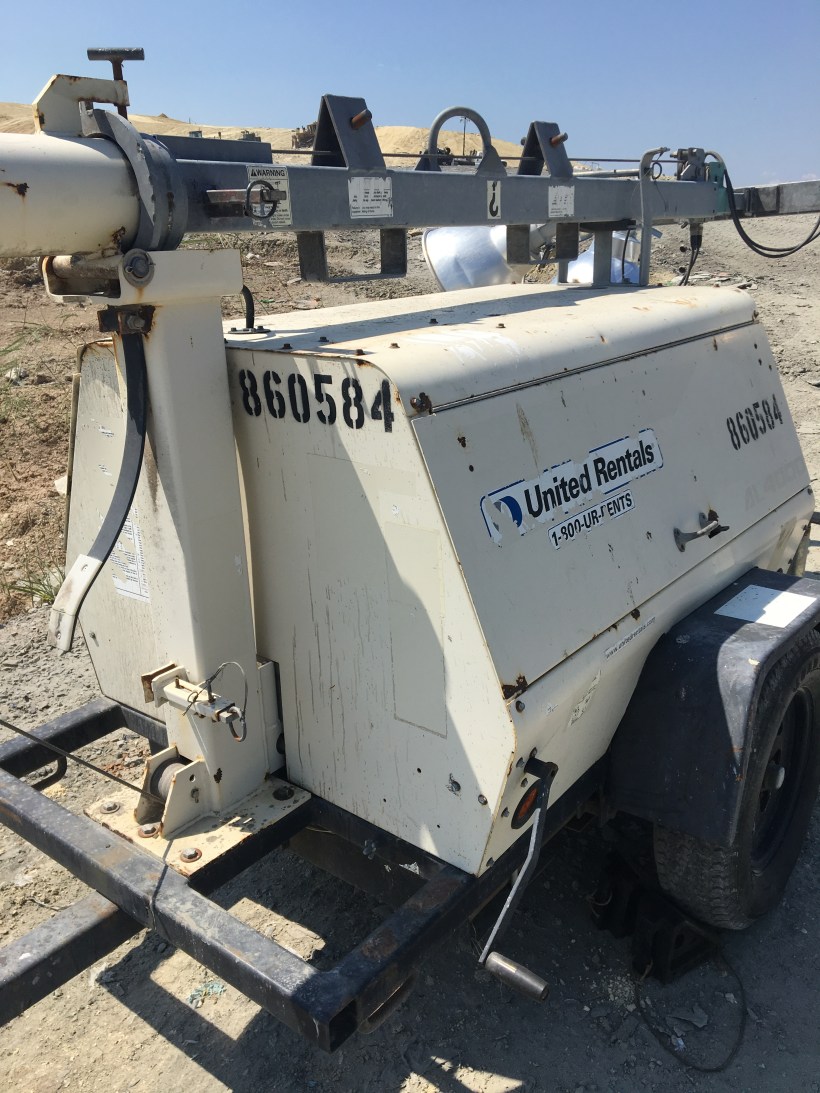
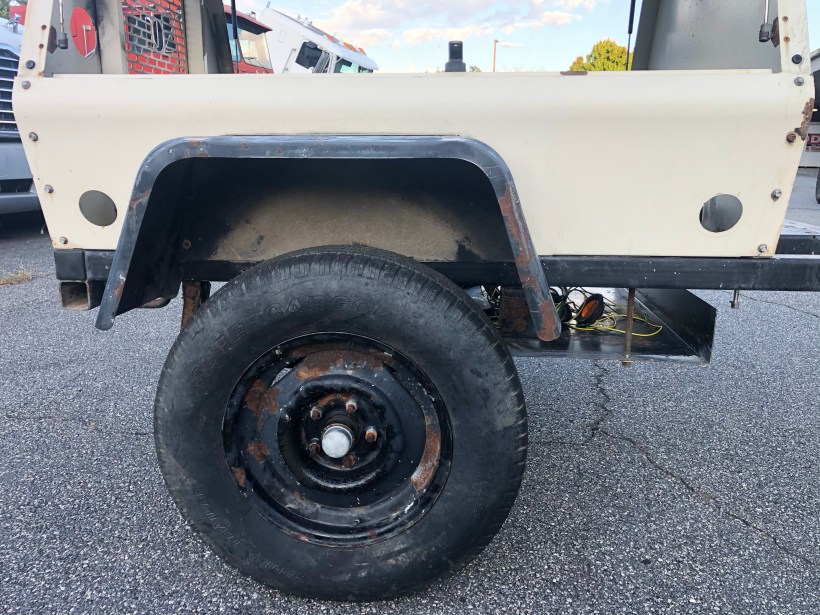
For some specs on the trailer.

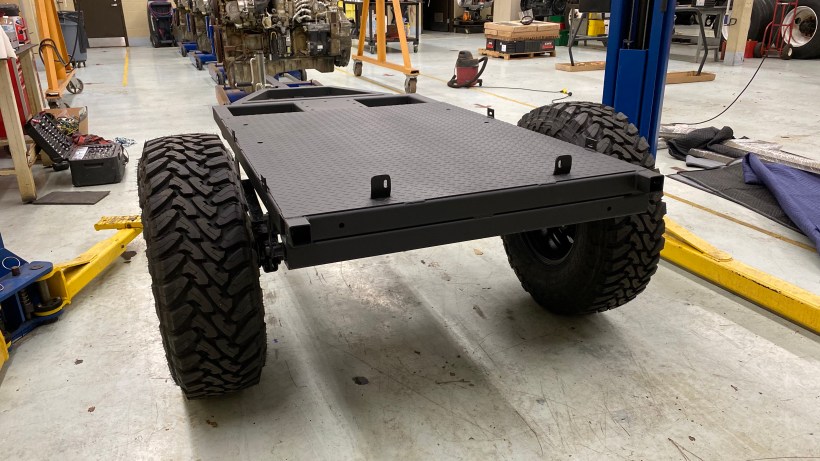
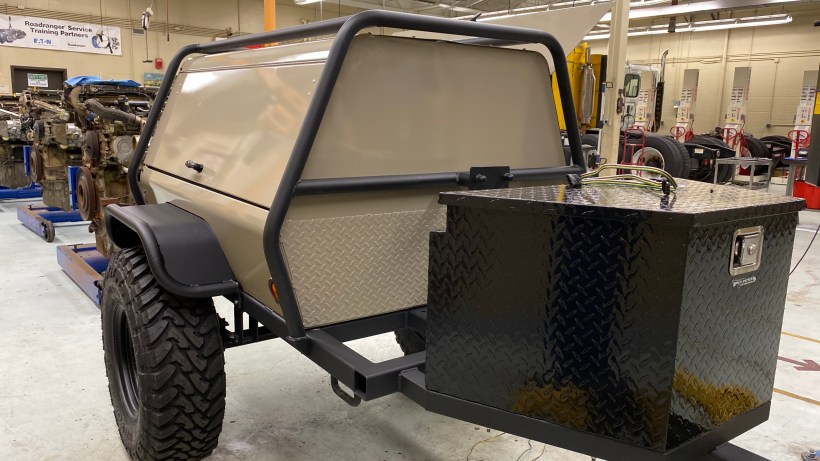
  • Frame (main cabinet) 41″ x 70″
  • Total length 124″
  • 3500# axle
  • 62″ wide
  • 5 x 4.5 bolt pattern on hubs
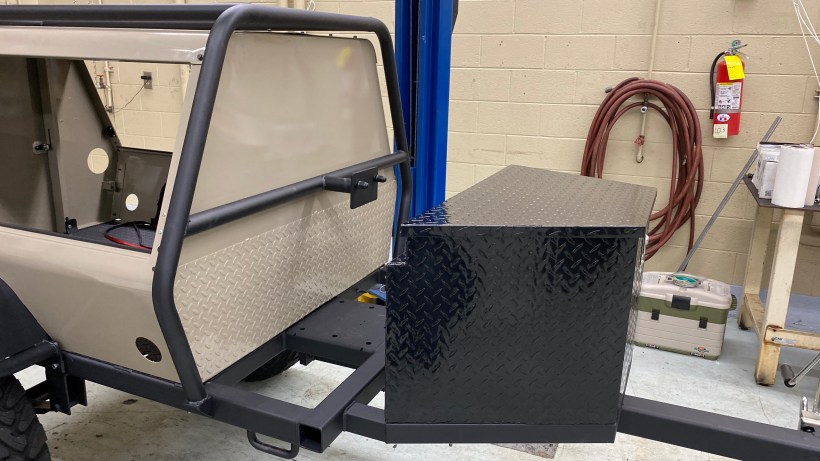
  • Lift up doors on both sides for cabinet access
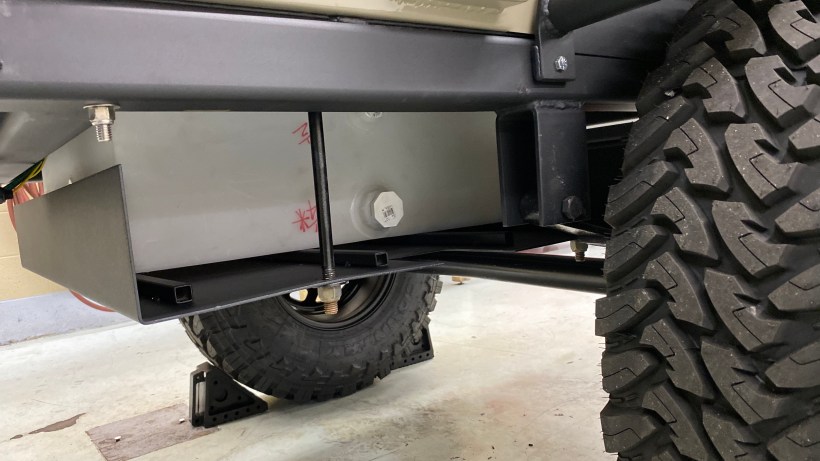
  • 30 gal diesel tank mounted under frame
  • 6kW generator and Kabota Diesel engine

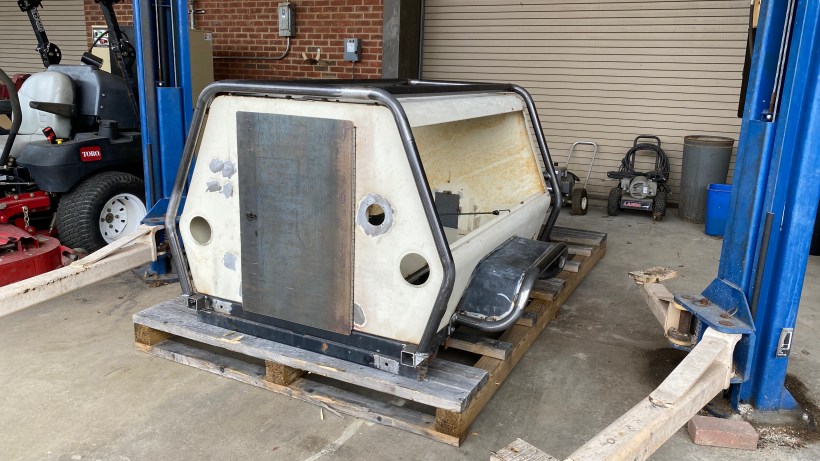
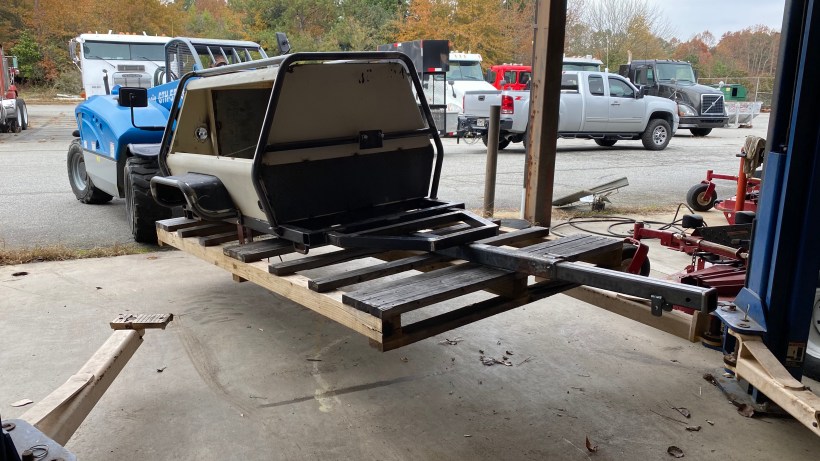
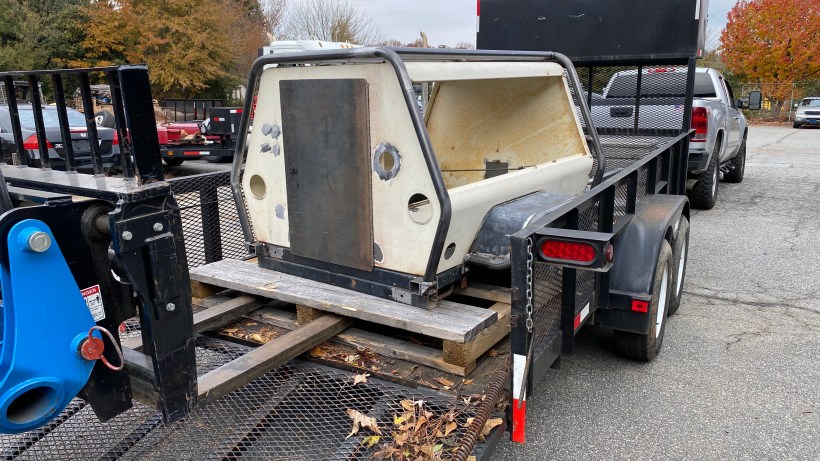
The first order of business was to get it cleaned up and stripped down for the conversion. The unit was still operation so the motor/generator, tower, and lights would need to be pulled. I was able to sell those and recoup some of the purchased price!

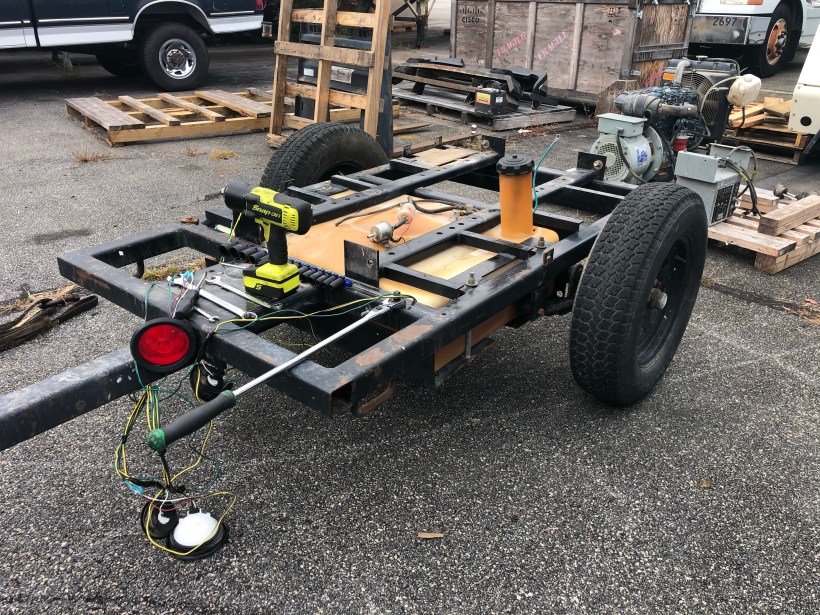
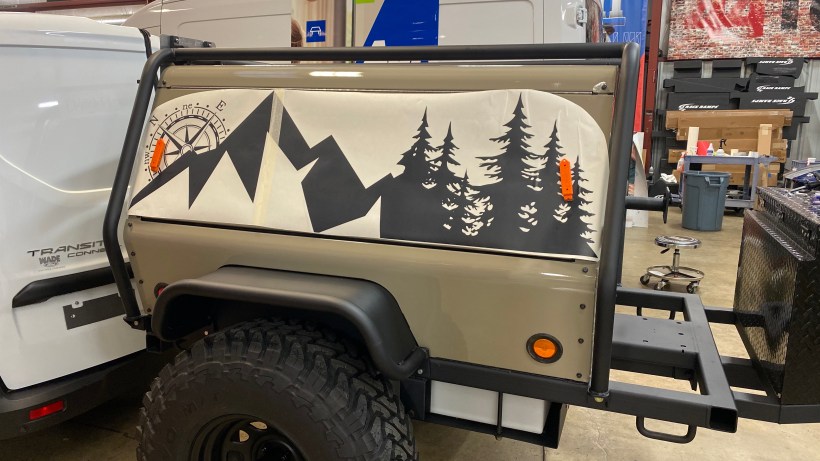
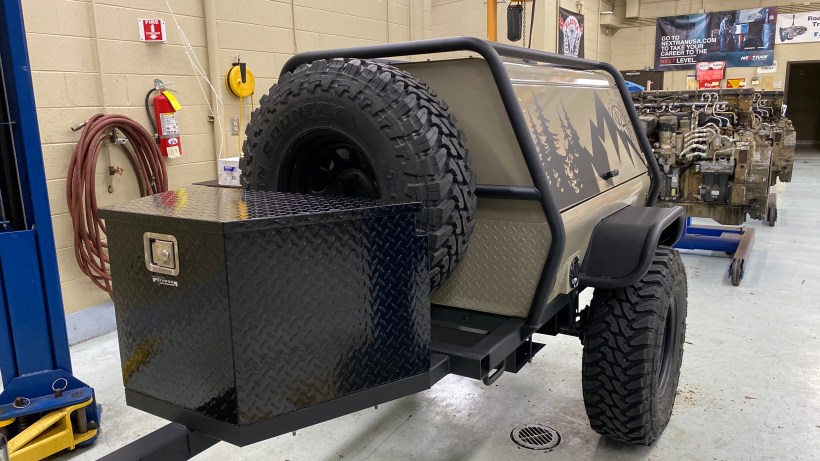
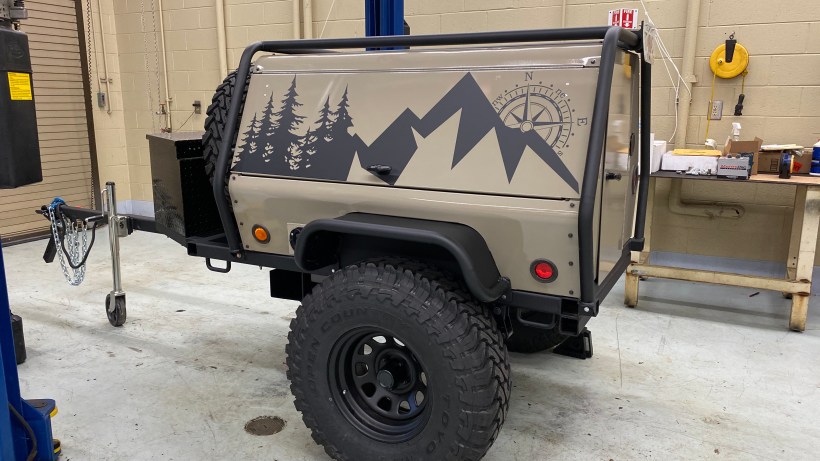
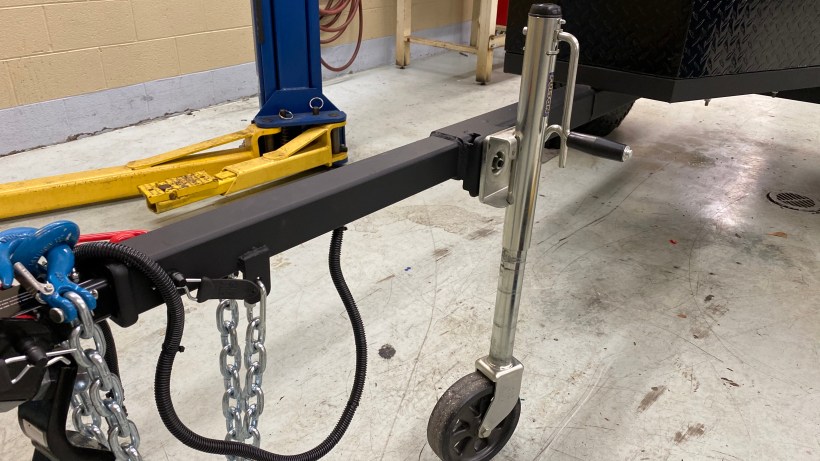
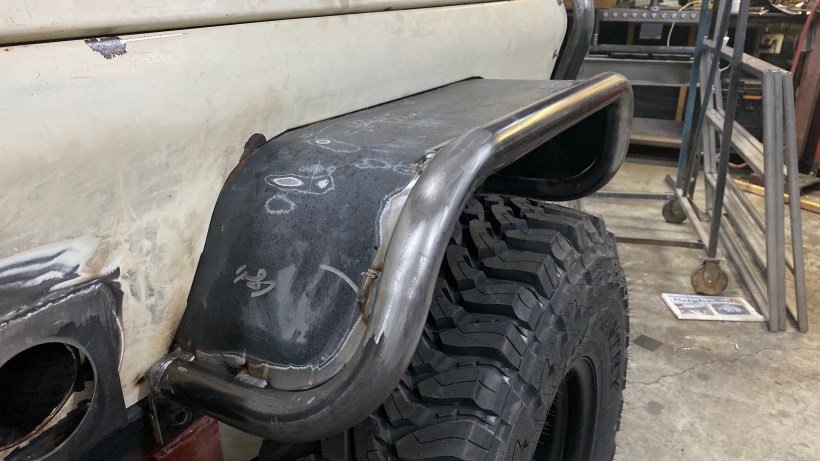
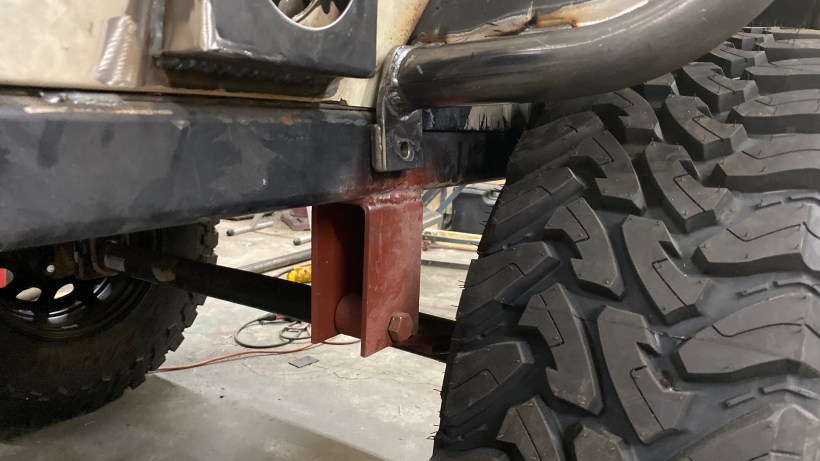
An axel flip kit was installed to give the trailer a little more ground clearance and will allow me to run larger tires. I would also be welding on a new leaf hanger to give another couple inches of clearance.

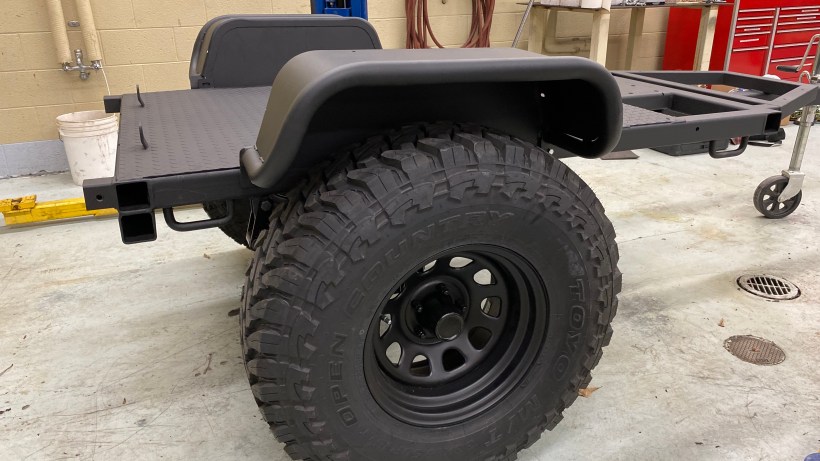
New 33″ tires would give the trailer the proper stance but would also require a rework of the fenders.

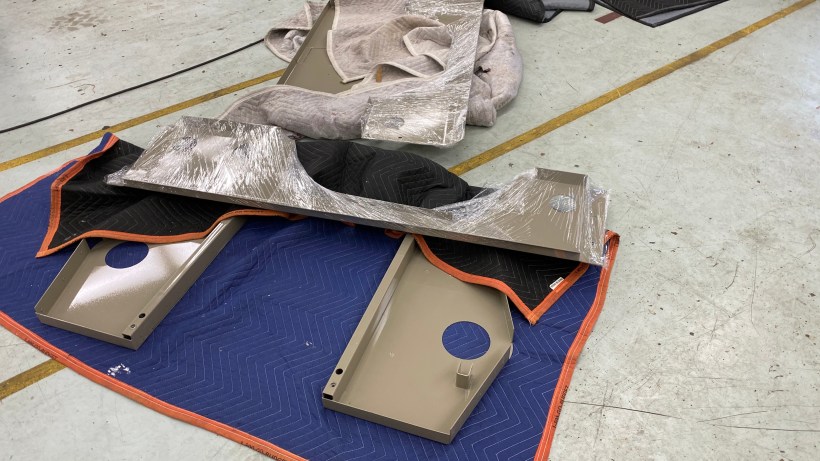
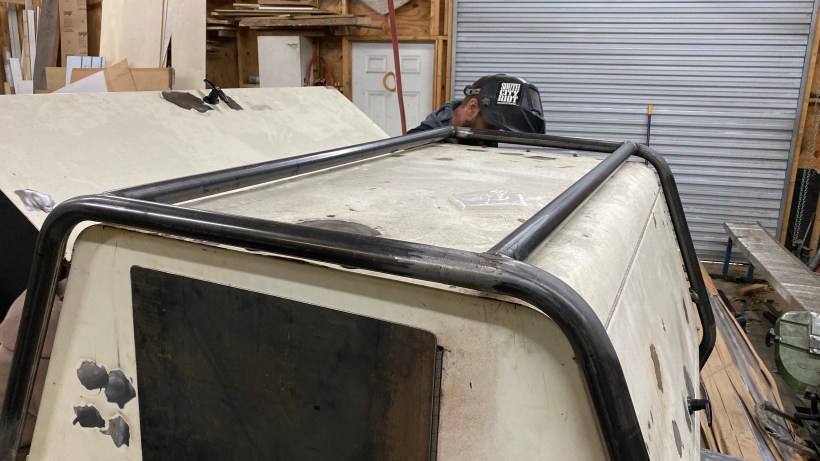
With the trailer stripped it was ready to go off to the welding shop for some metal work and fabrication!!

Stay tuned for Part 2!!

Clingmans Dome

Wander Offroad spent the weekend of November 9th and 10th in TN and NC. We spent some time on the Cherohala Skyway and saw Bald River Falls, and over into NC and then up to Clingmans Dome. Clingmans Dome is the highest point in the Great Smoky Mountains at 6643ft.