Video of our run on Table Mesa in Central Arizona from back in March 2021. We joined up with friends from SOAZ Offroad for this trail. Not sure how it happened, but during the first obstacle I noticed my steering was severely limited. Come to find out my Drag link was bent and limited travel of left/right turning radius. We made it across the first two obstacles, and then got back on the main road and ended our outing early. We’ll have to plan another trip back to complete the trail!
Blog
Greens Peak Fall 2021
We ran up to Greens Peak in the White Mountains of Arizona this weekend. We took our Can-AM Maverick for this trip.
We’ll give a quick walk around of the some of the mods we have done to it and we also shot some 360 video so be sure the check it out!
Come along and enjoy the fall colors.
North Rim Exploration Part 2
Back in September, Max and I did some exploring around the north rim of the Grand Canyon. I had read about some of this area and wanted to visit for several years. Now that it is within a days drive, it is possible. Follow along in this multi-part video as we explore the area.
North Rim Exploration
This past weekend Max and I did some exploring around the north rim of the Grand Canyon. I had read about some of this area and wanted to visit for several years. Now that it is within a days drive, it is possible. Follow along in this multi-part video as we explore the area.
Greer and Surrounding Area
We spent the day exploring Apache Sitgreaves National Forest surrounding Greer and Big Lake. We hit about 40 miles of dirt, taking various forest service roads , scouting locations for future camping and kayaking adventures.
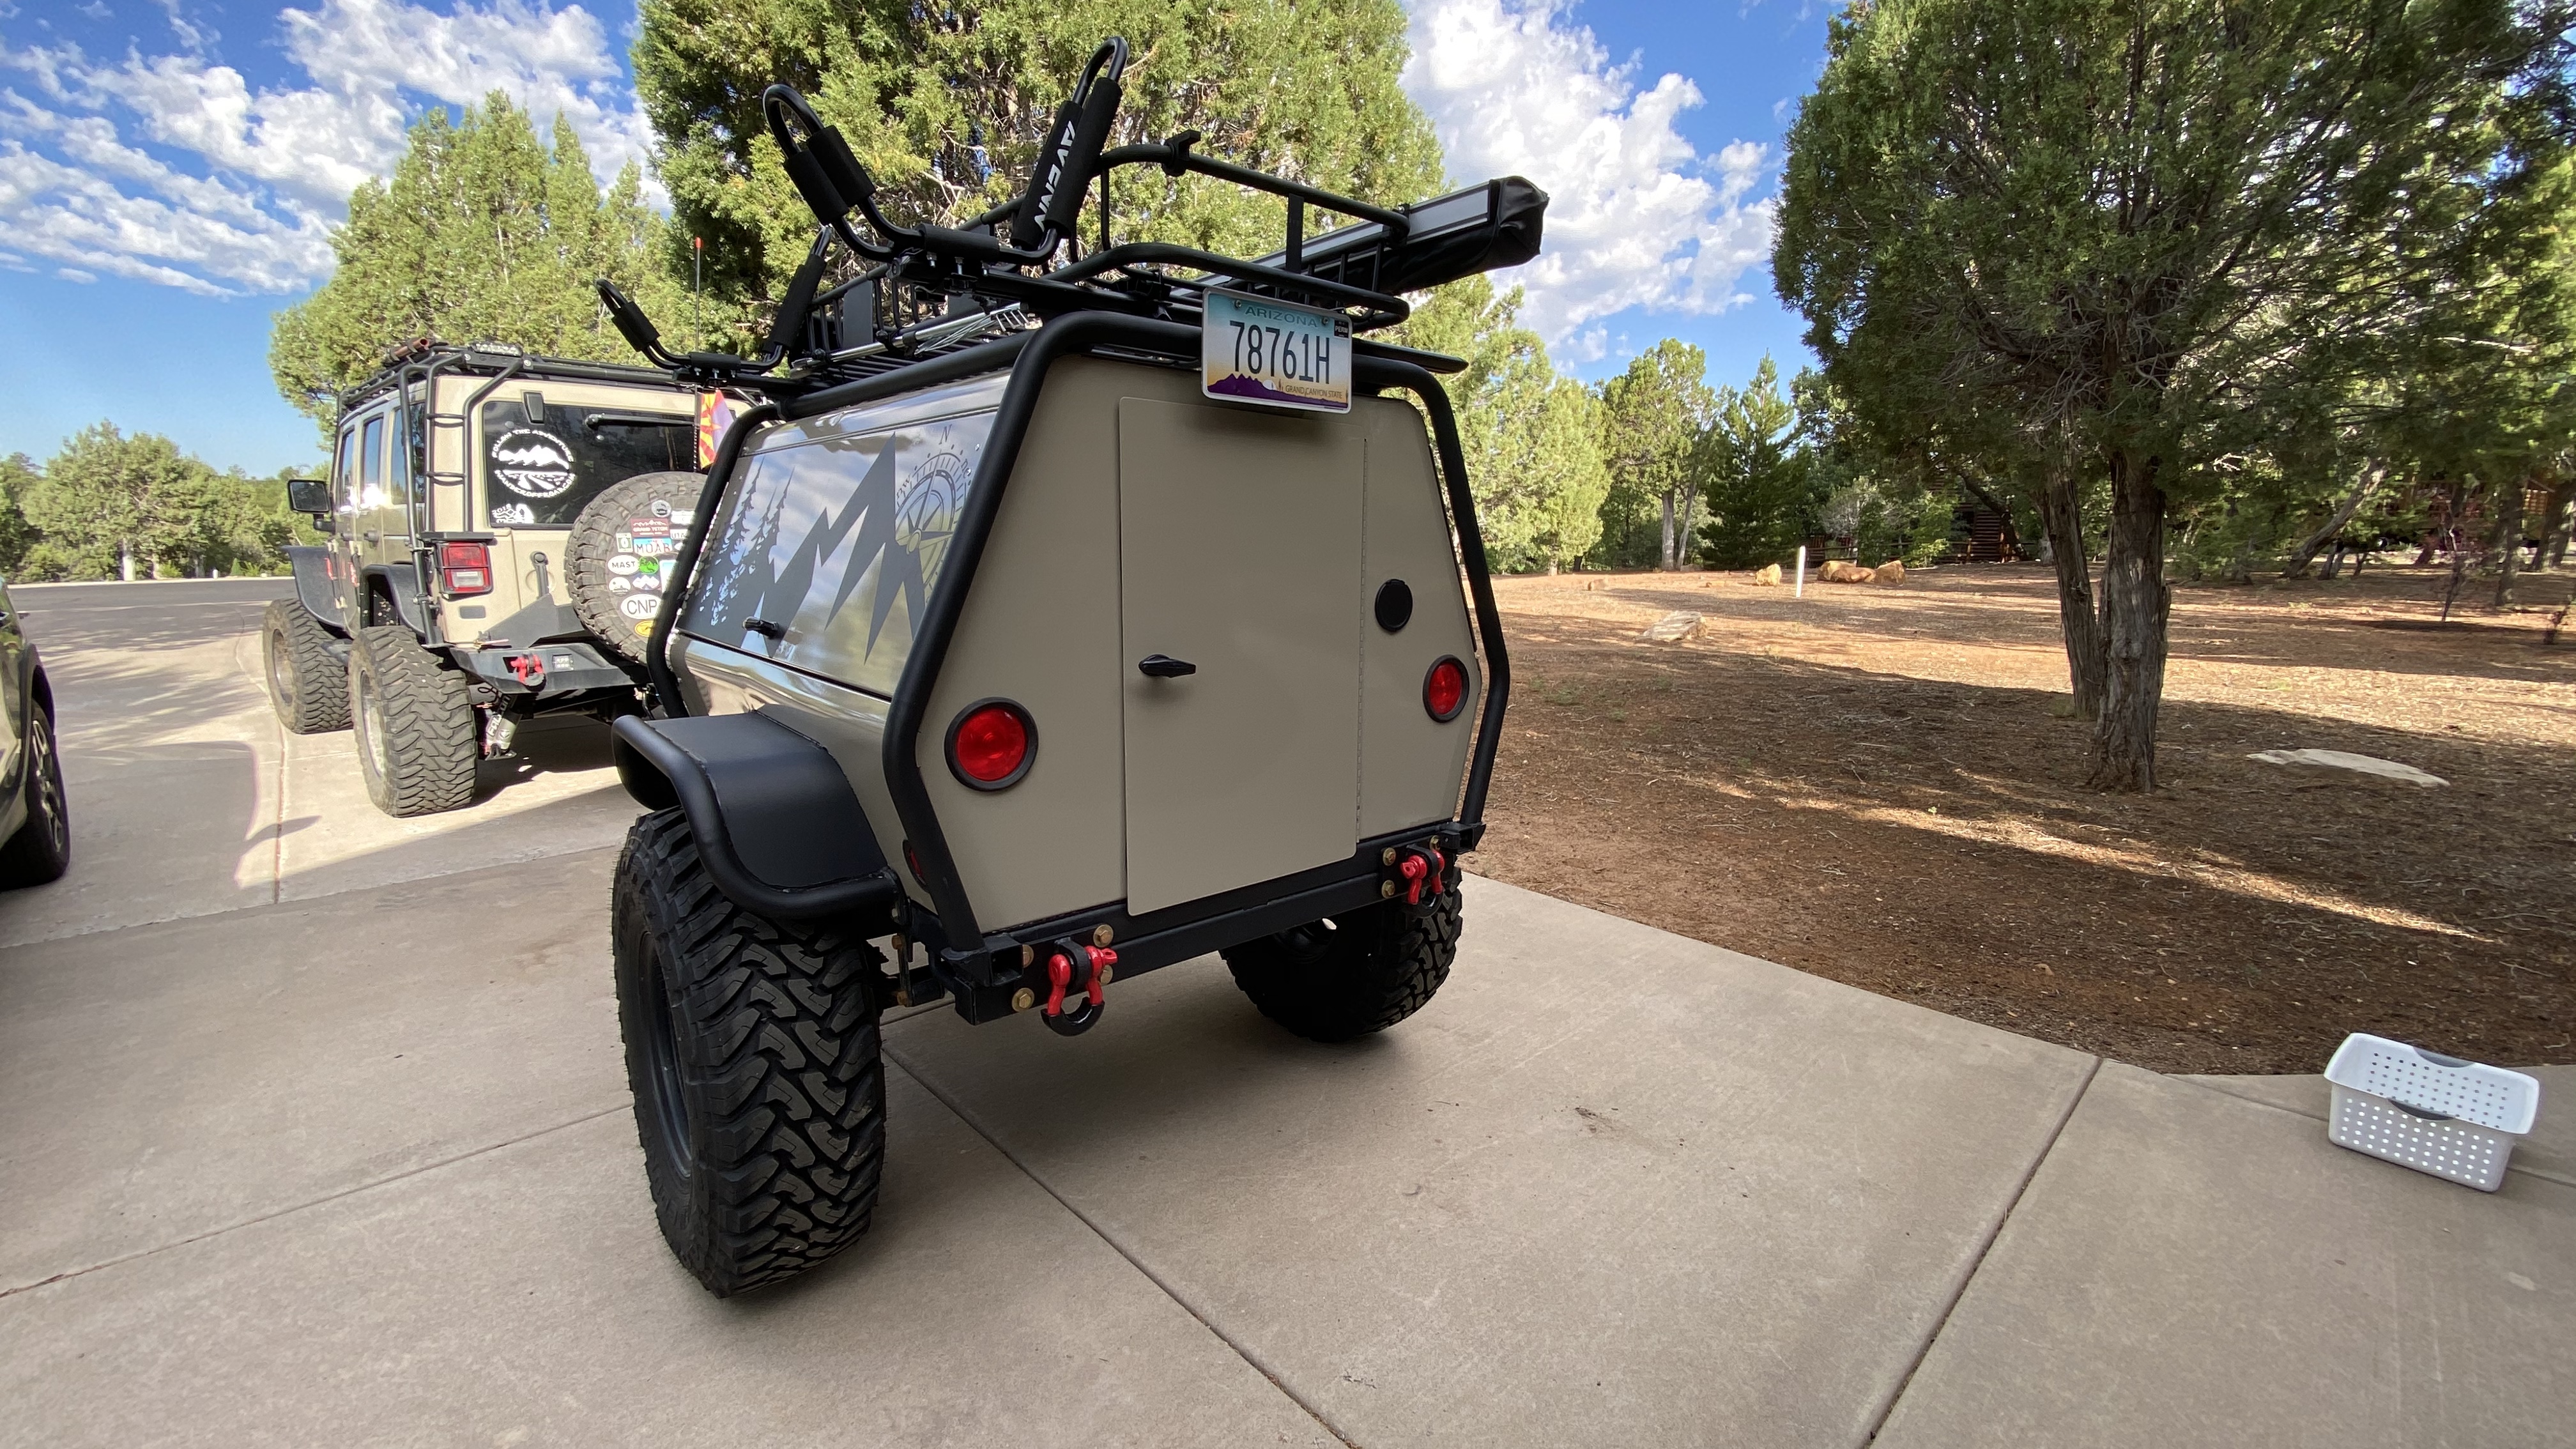
Overland Trailer Build – Part 5
It been a while since I have been able to work on the trailer. For the last five months it has sat neglected in storage while we lived in a rental home here in Arizona. Now that we have purchased a house with a garage and workshop, its time to get too it!
If you need to catch up on the previous build post, follow these links:
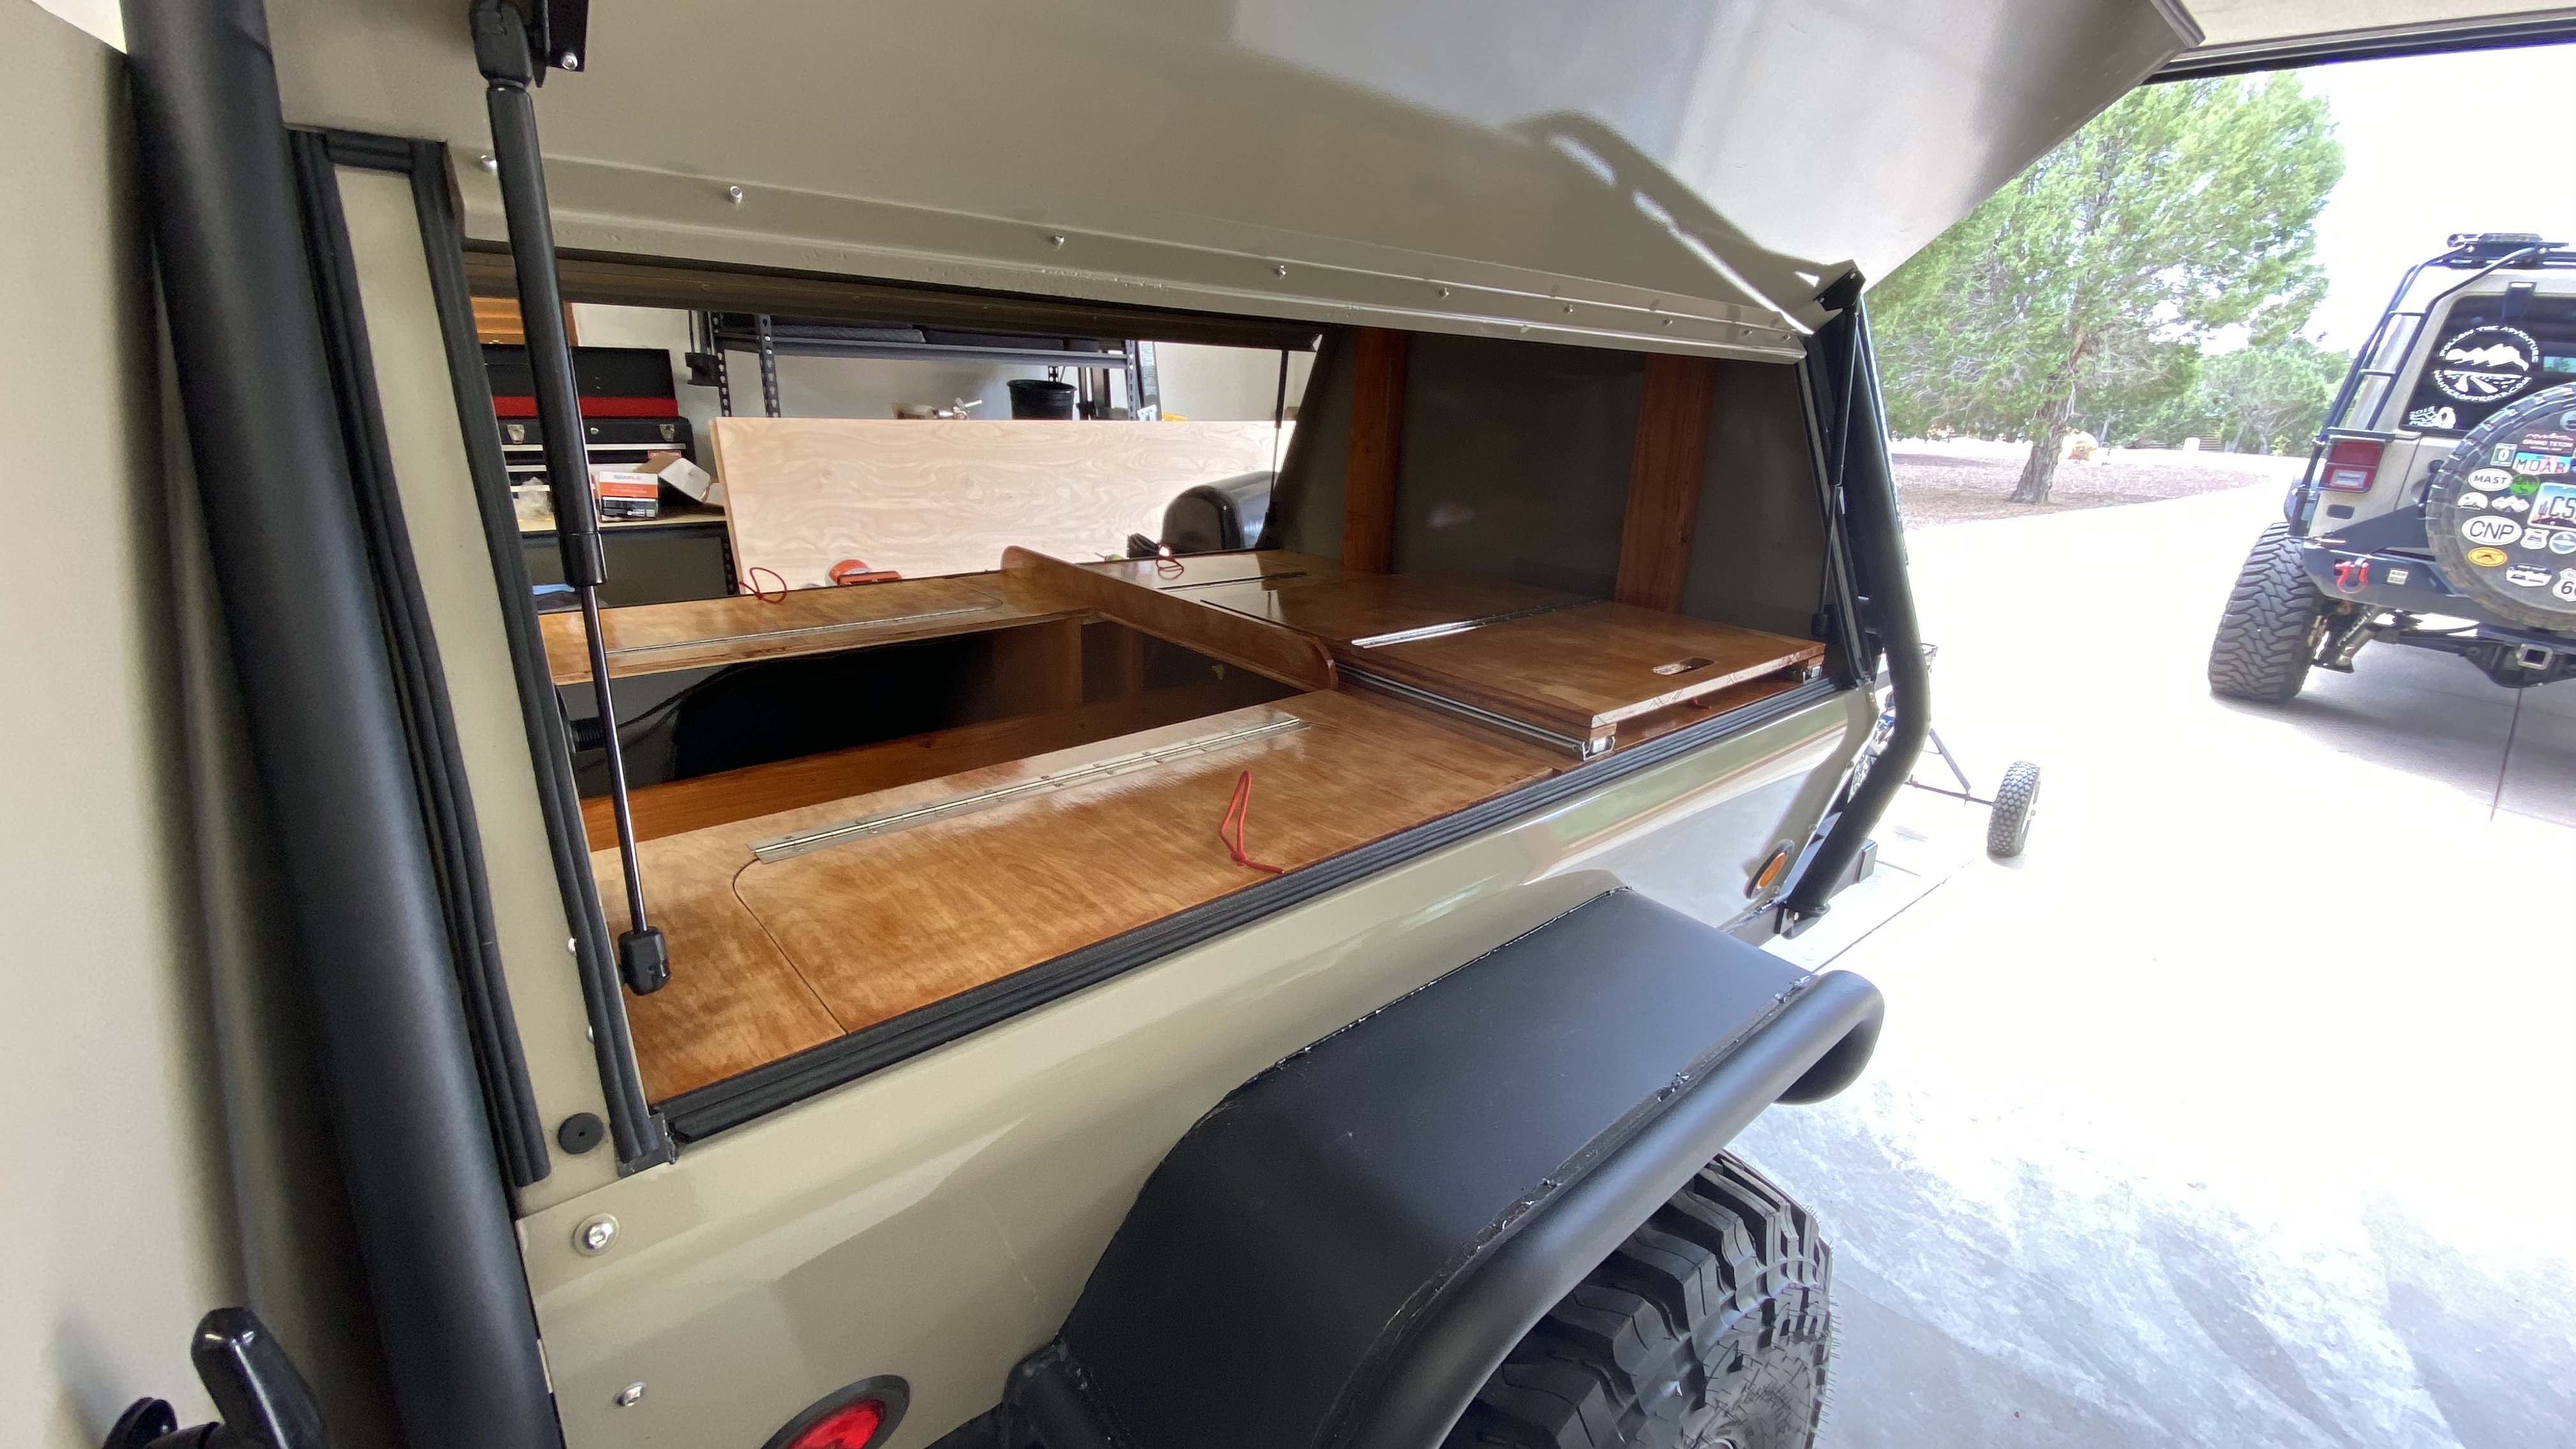
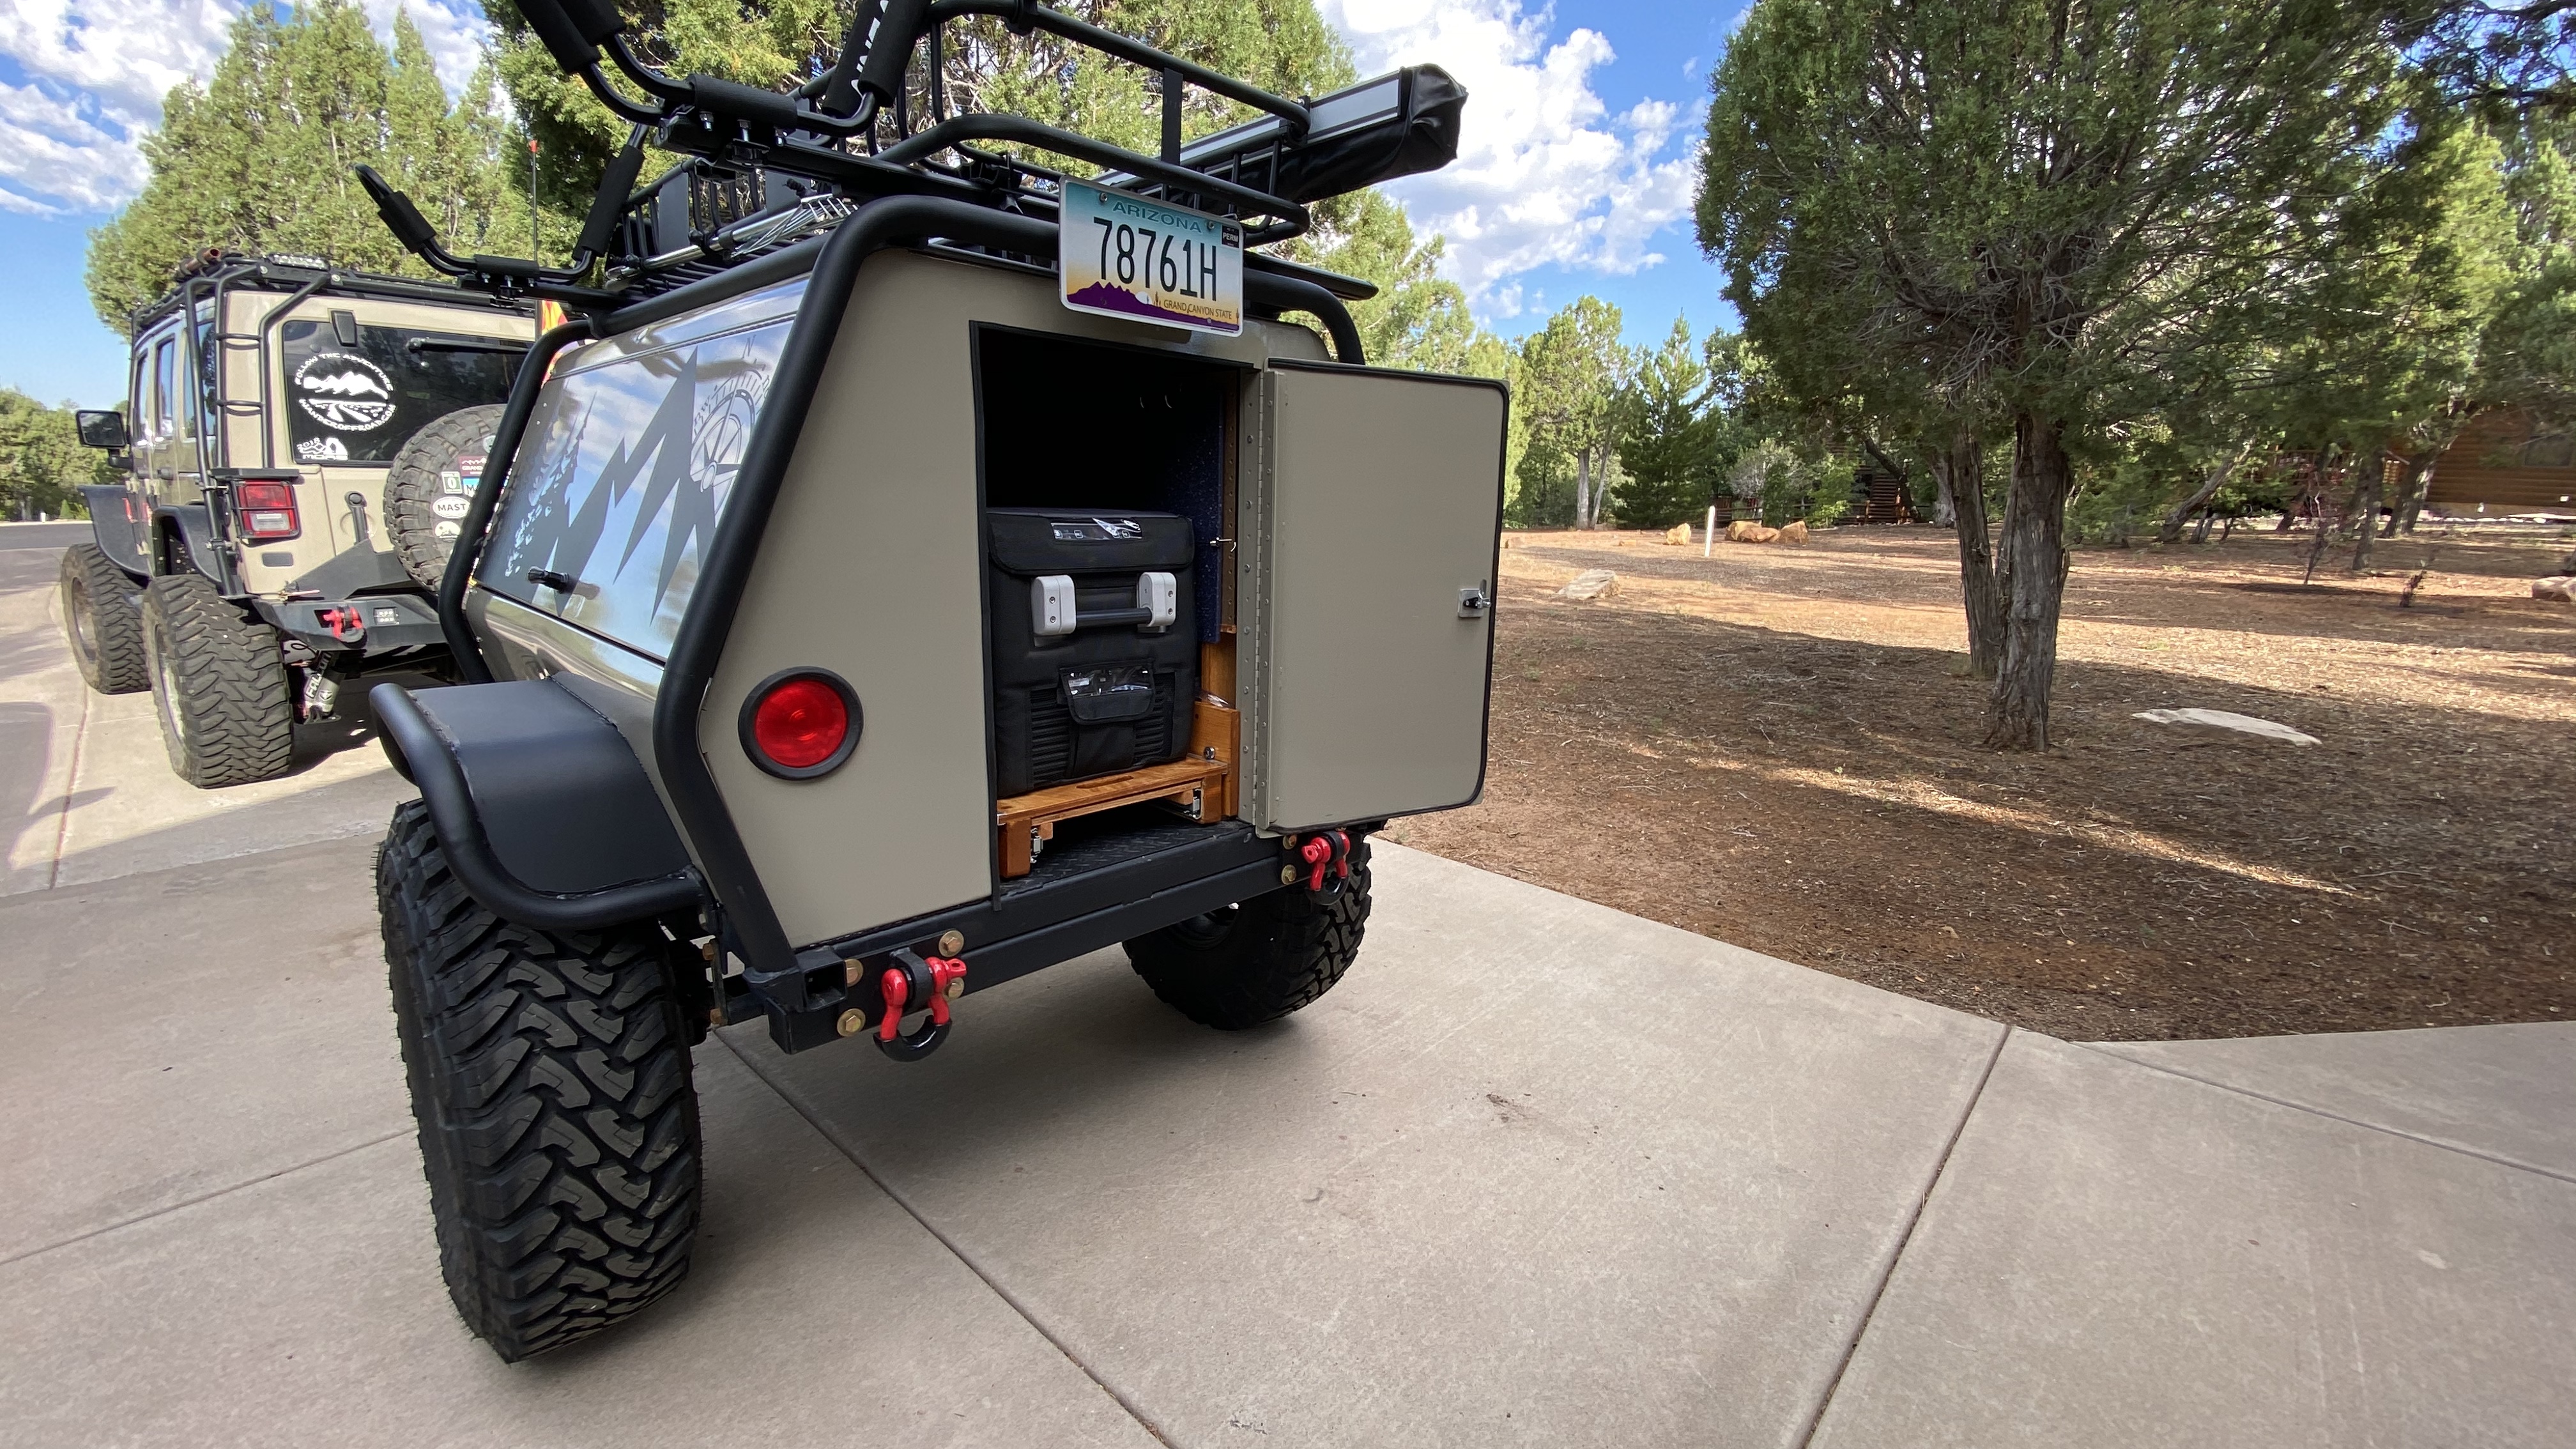
First up was to frame out the slide. Using 16 roller bearings per side would surely give me the support I wanted for a full length slide/tray.

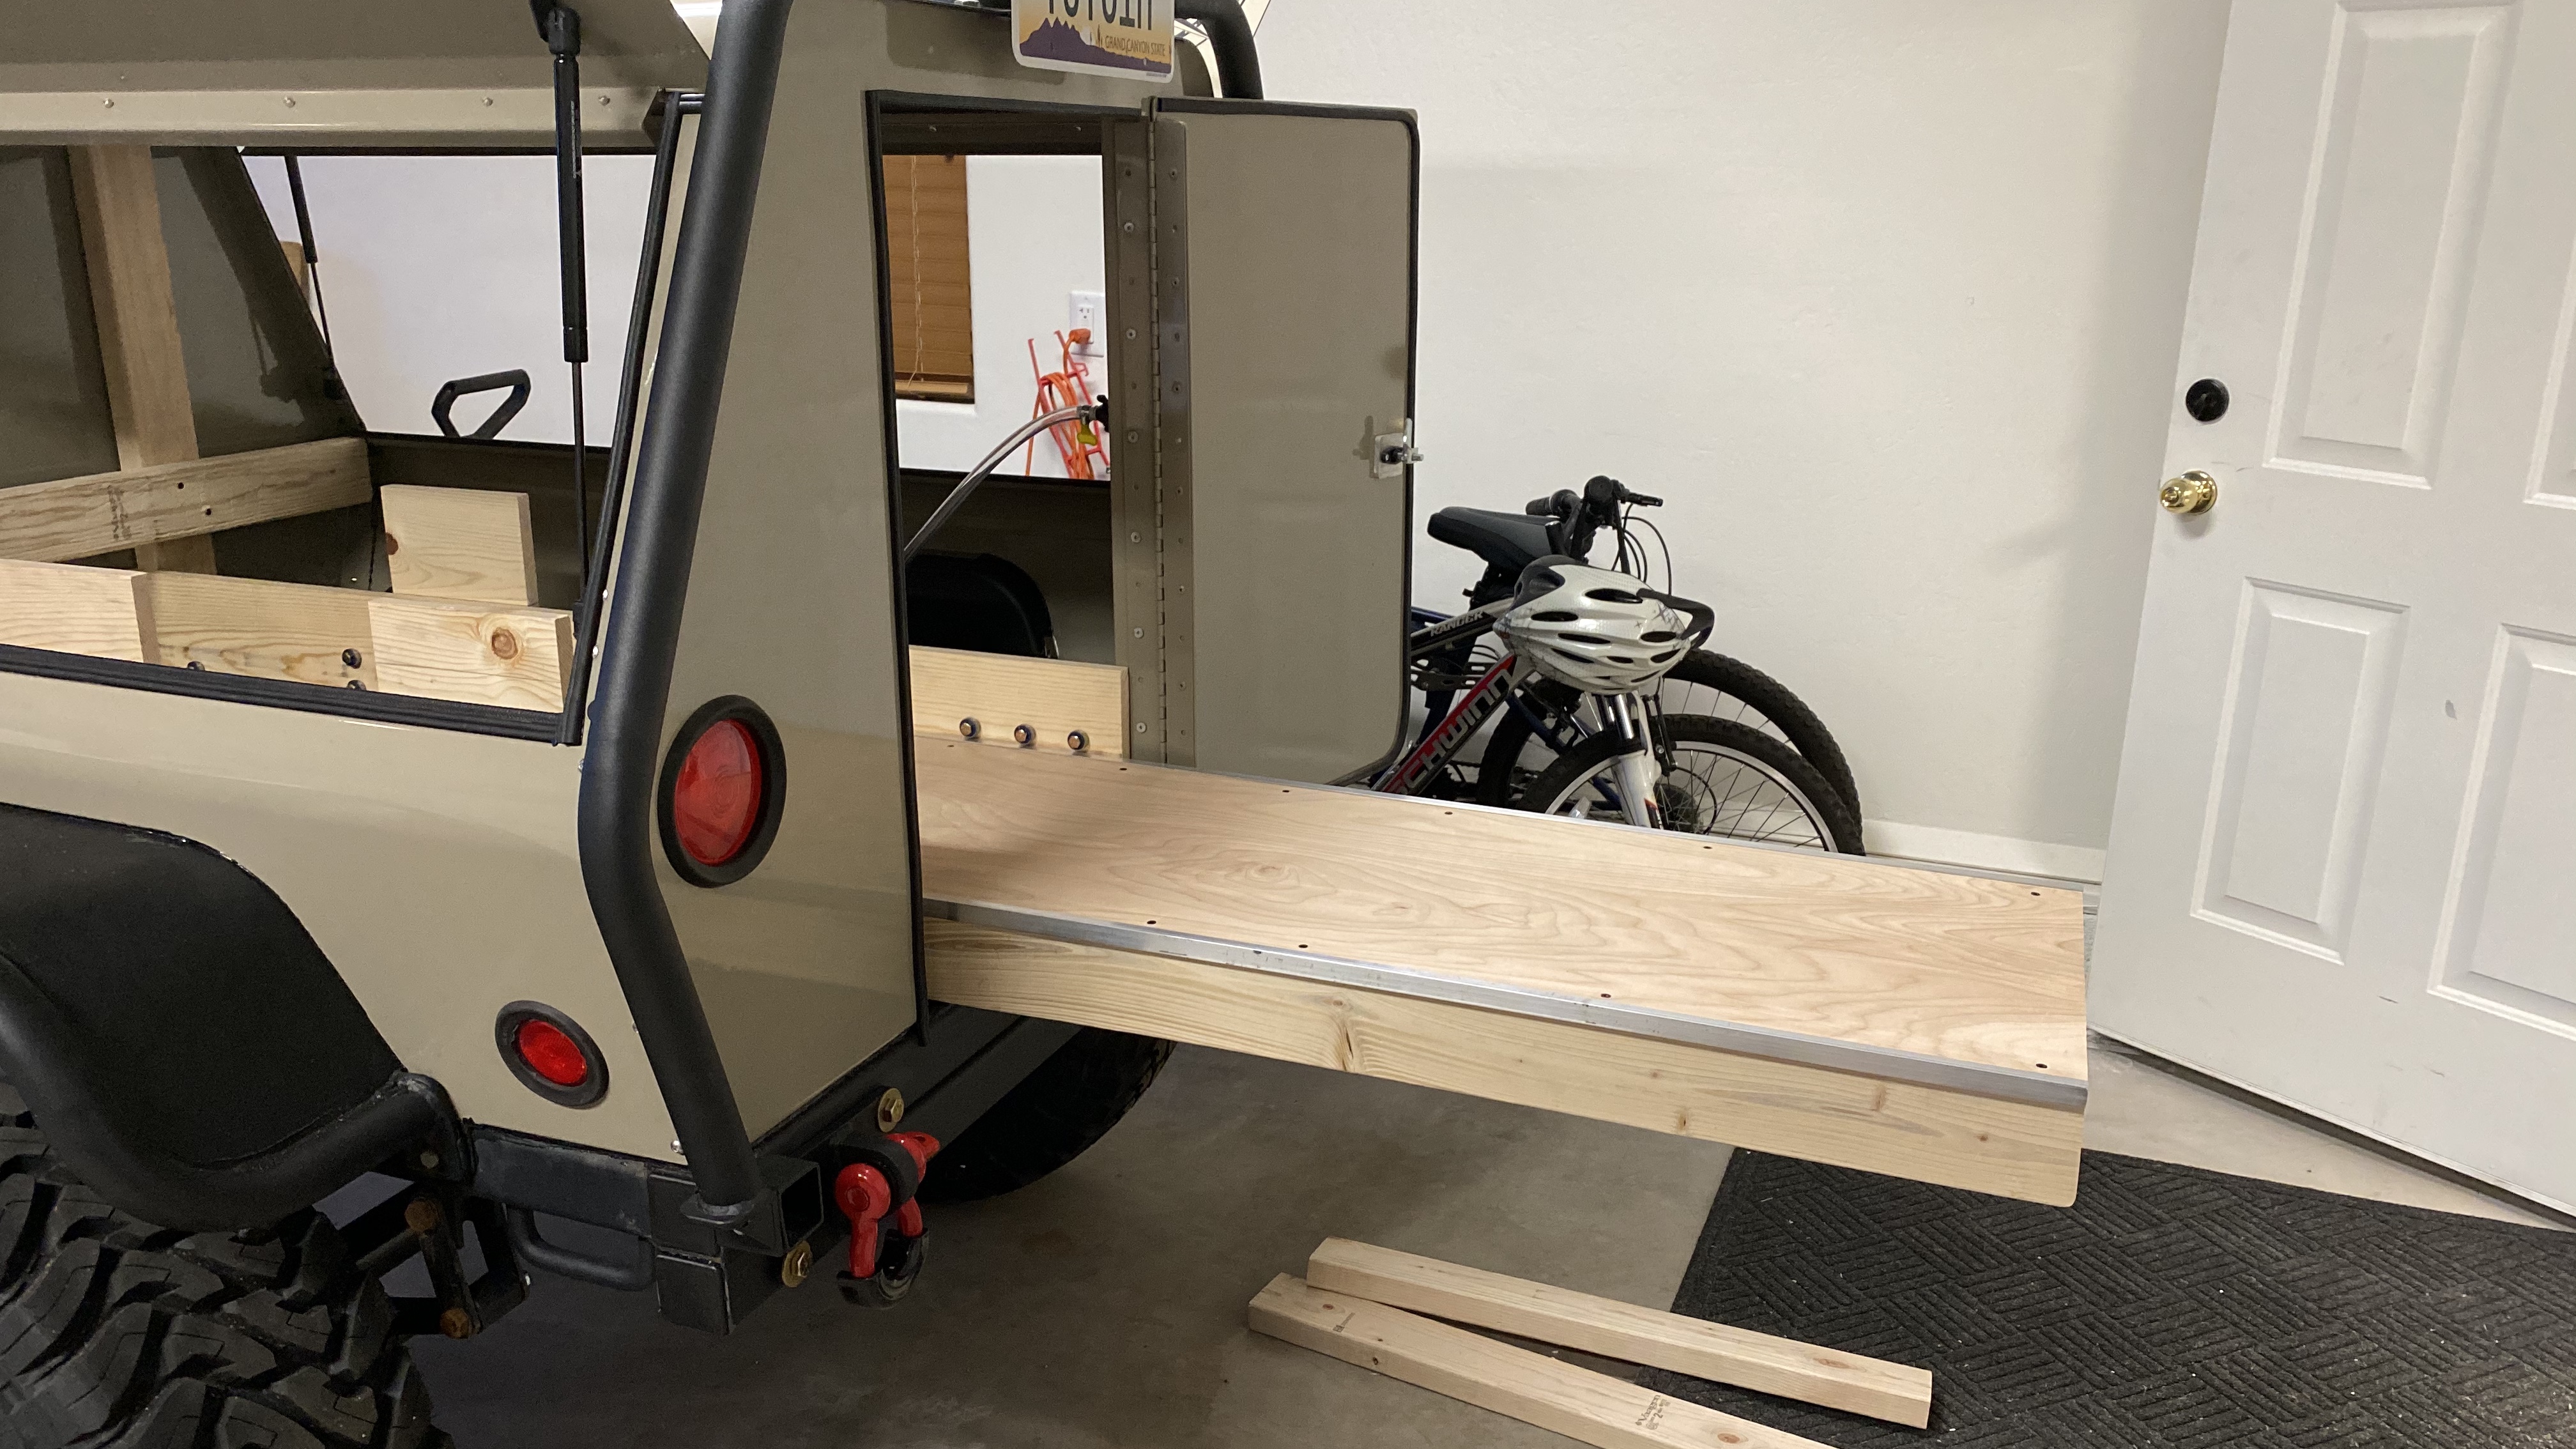


The framing would also support the top decking for storage and work surfaces. In the end I re-worked some of the lower supports to ensure the decking was sturdy and allow for compartmental storage underneath.
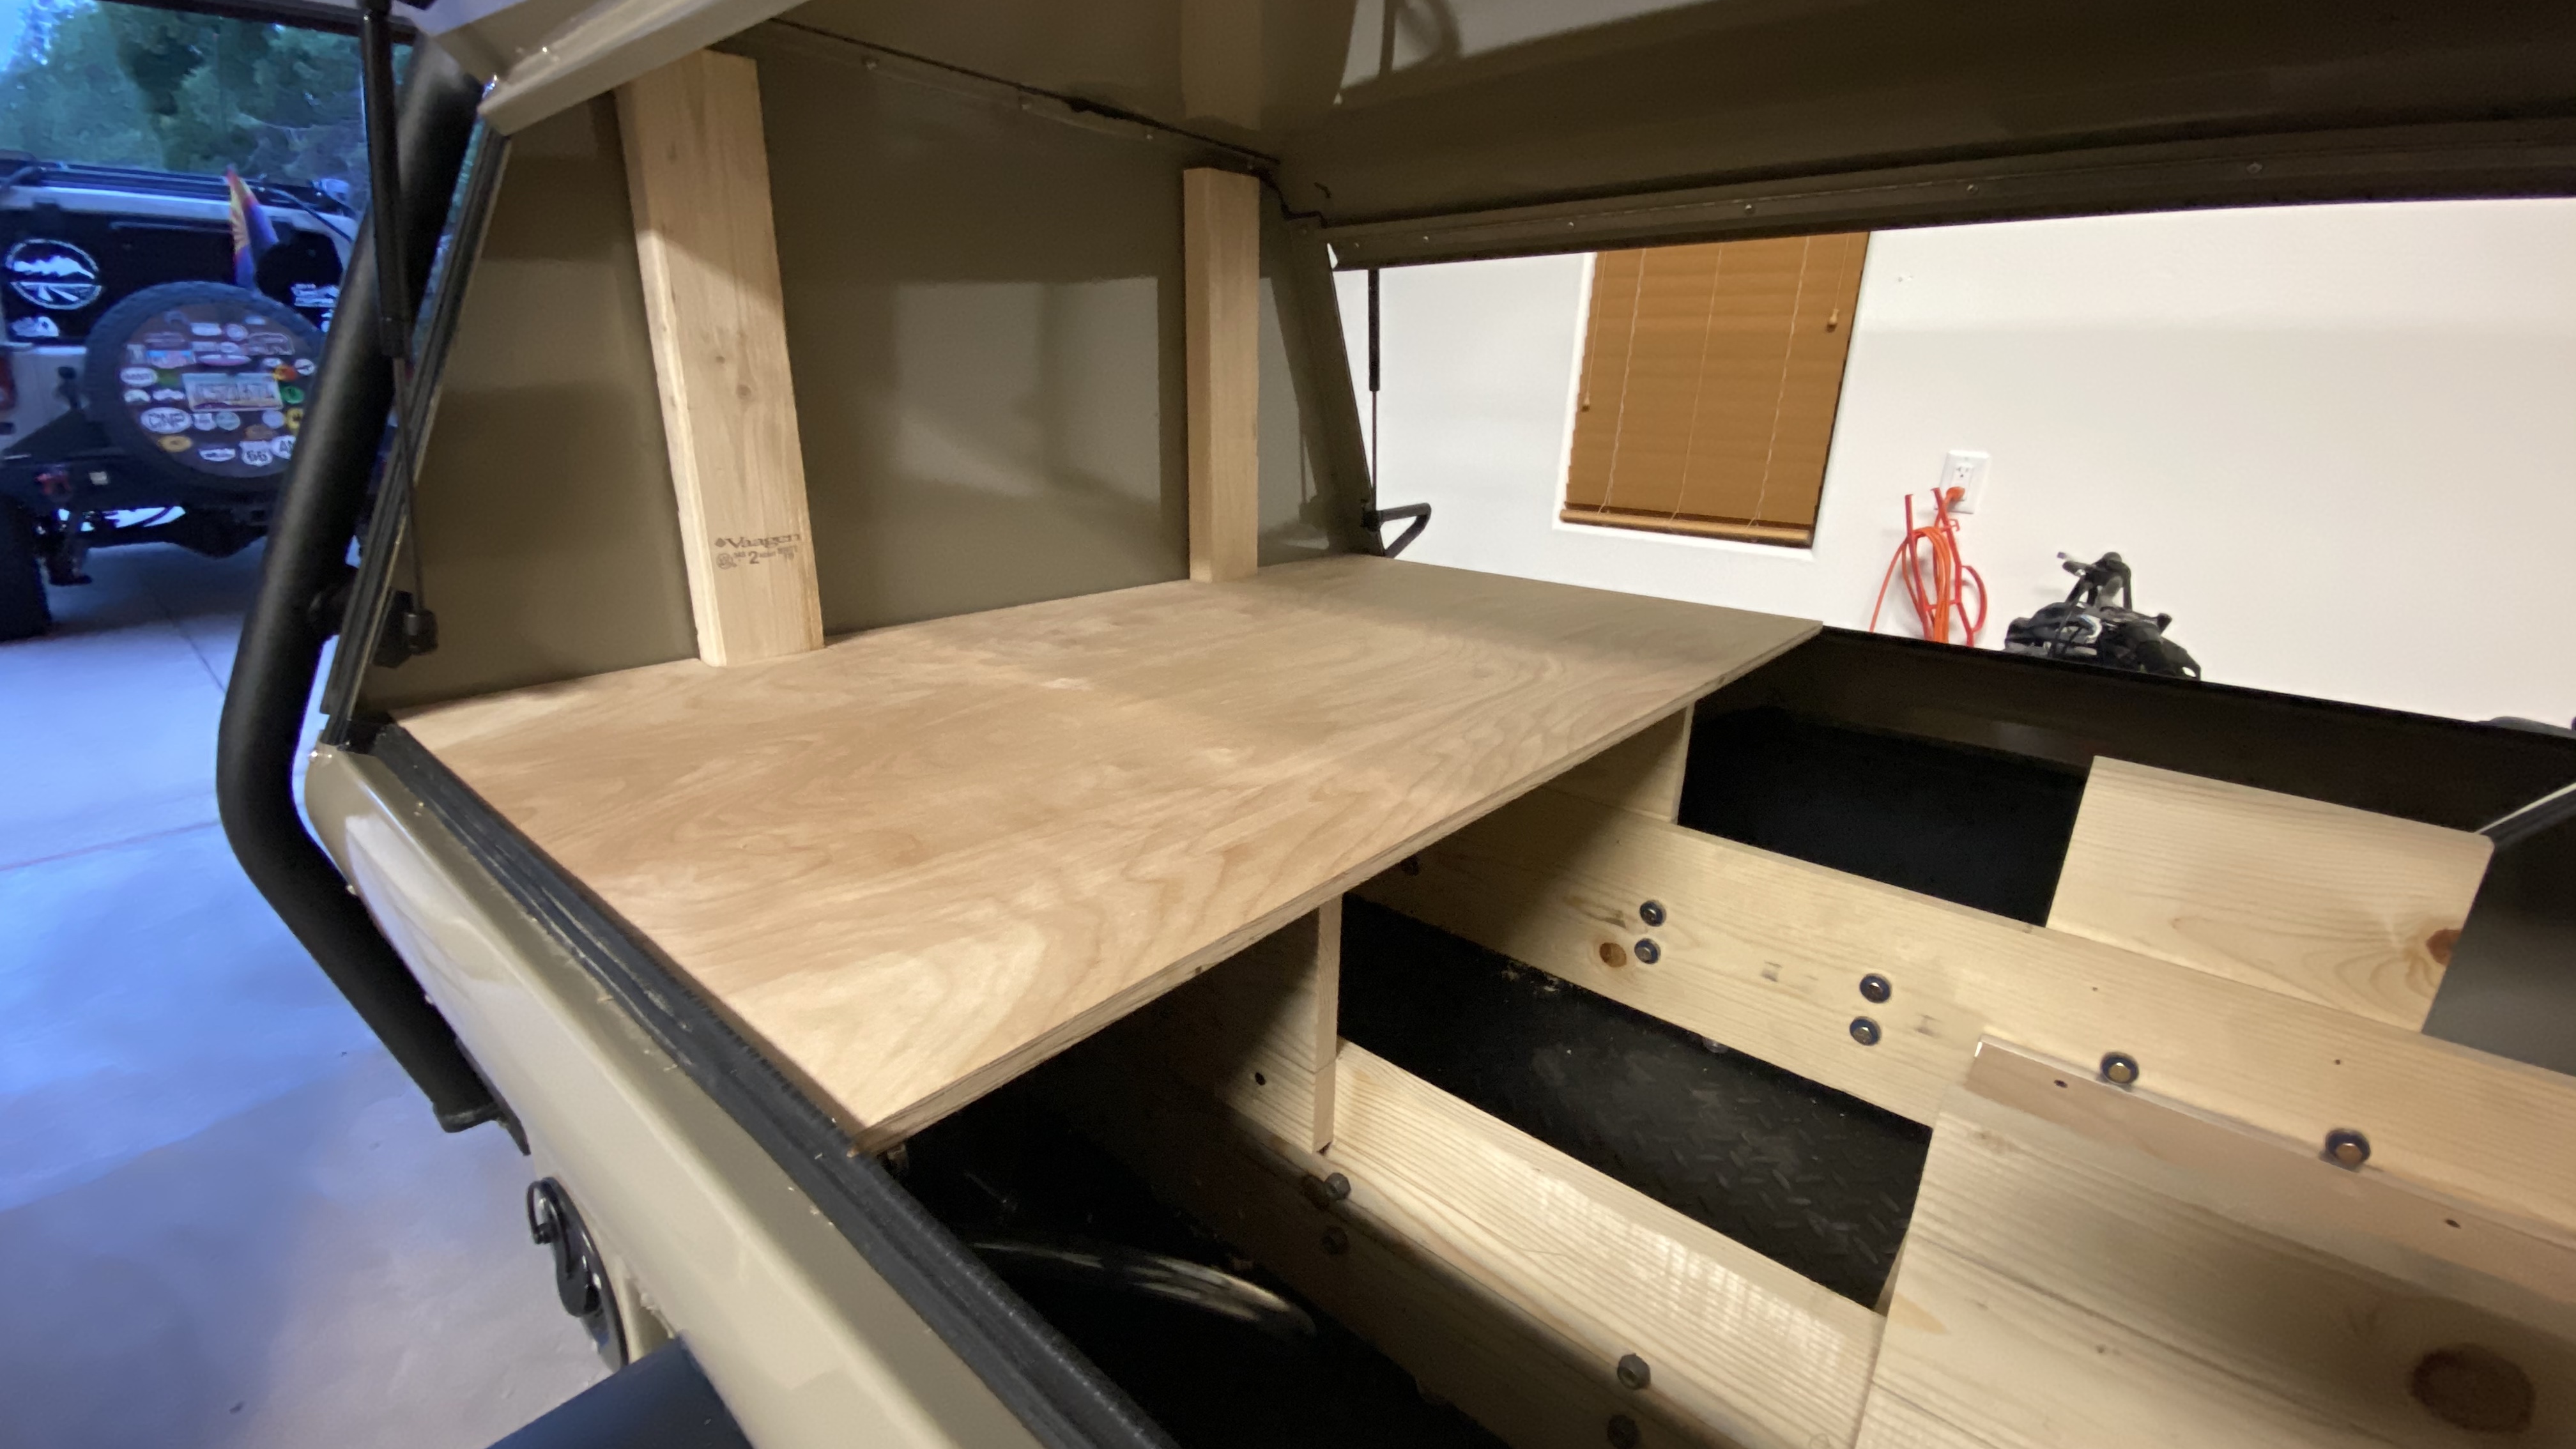

Here you can see the access doors cut into the decking for storage access.

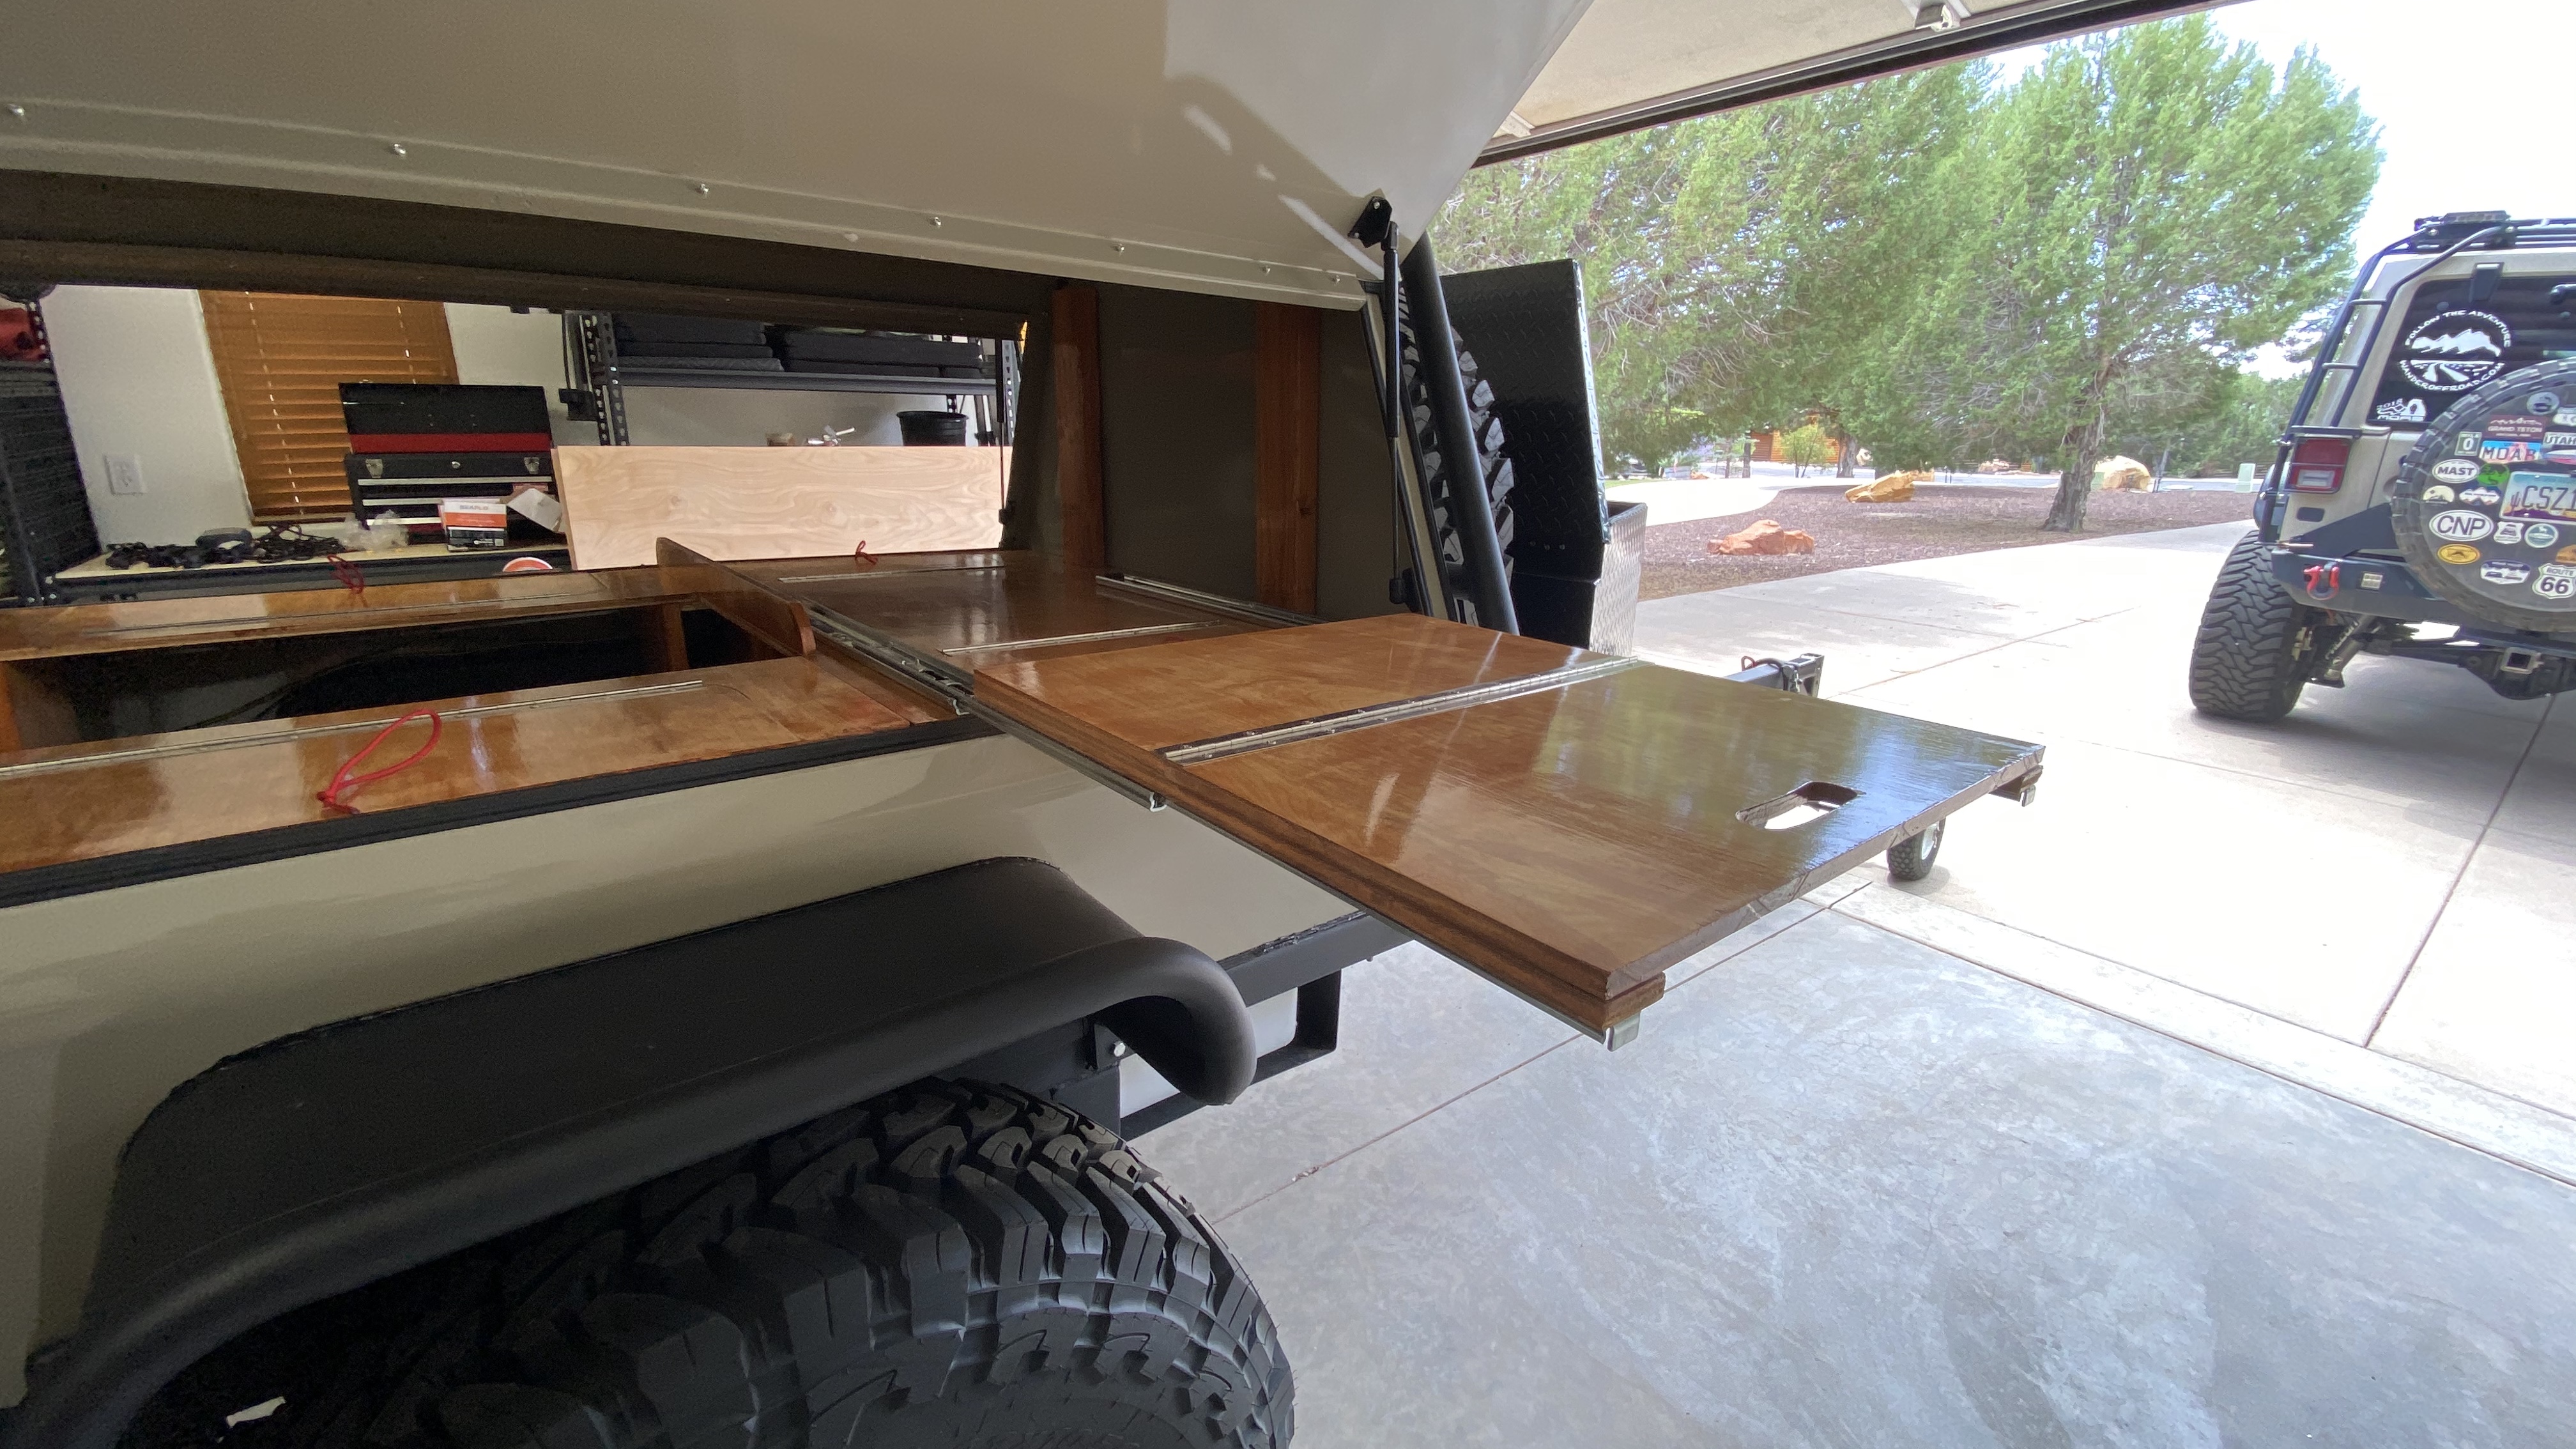
Sealed and stained.


If you recall from an earlier post, there is a 20 gallon tank installed below the trailer where the fuel tank used to reside. Here is the pump compartment all plumbed and ready to be wired in.

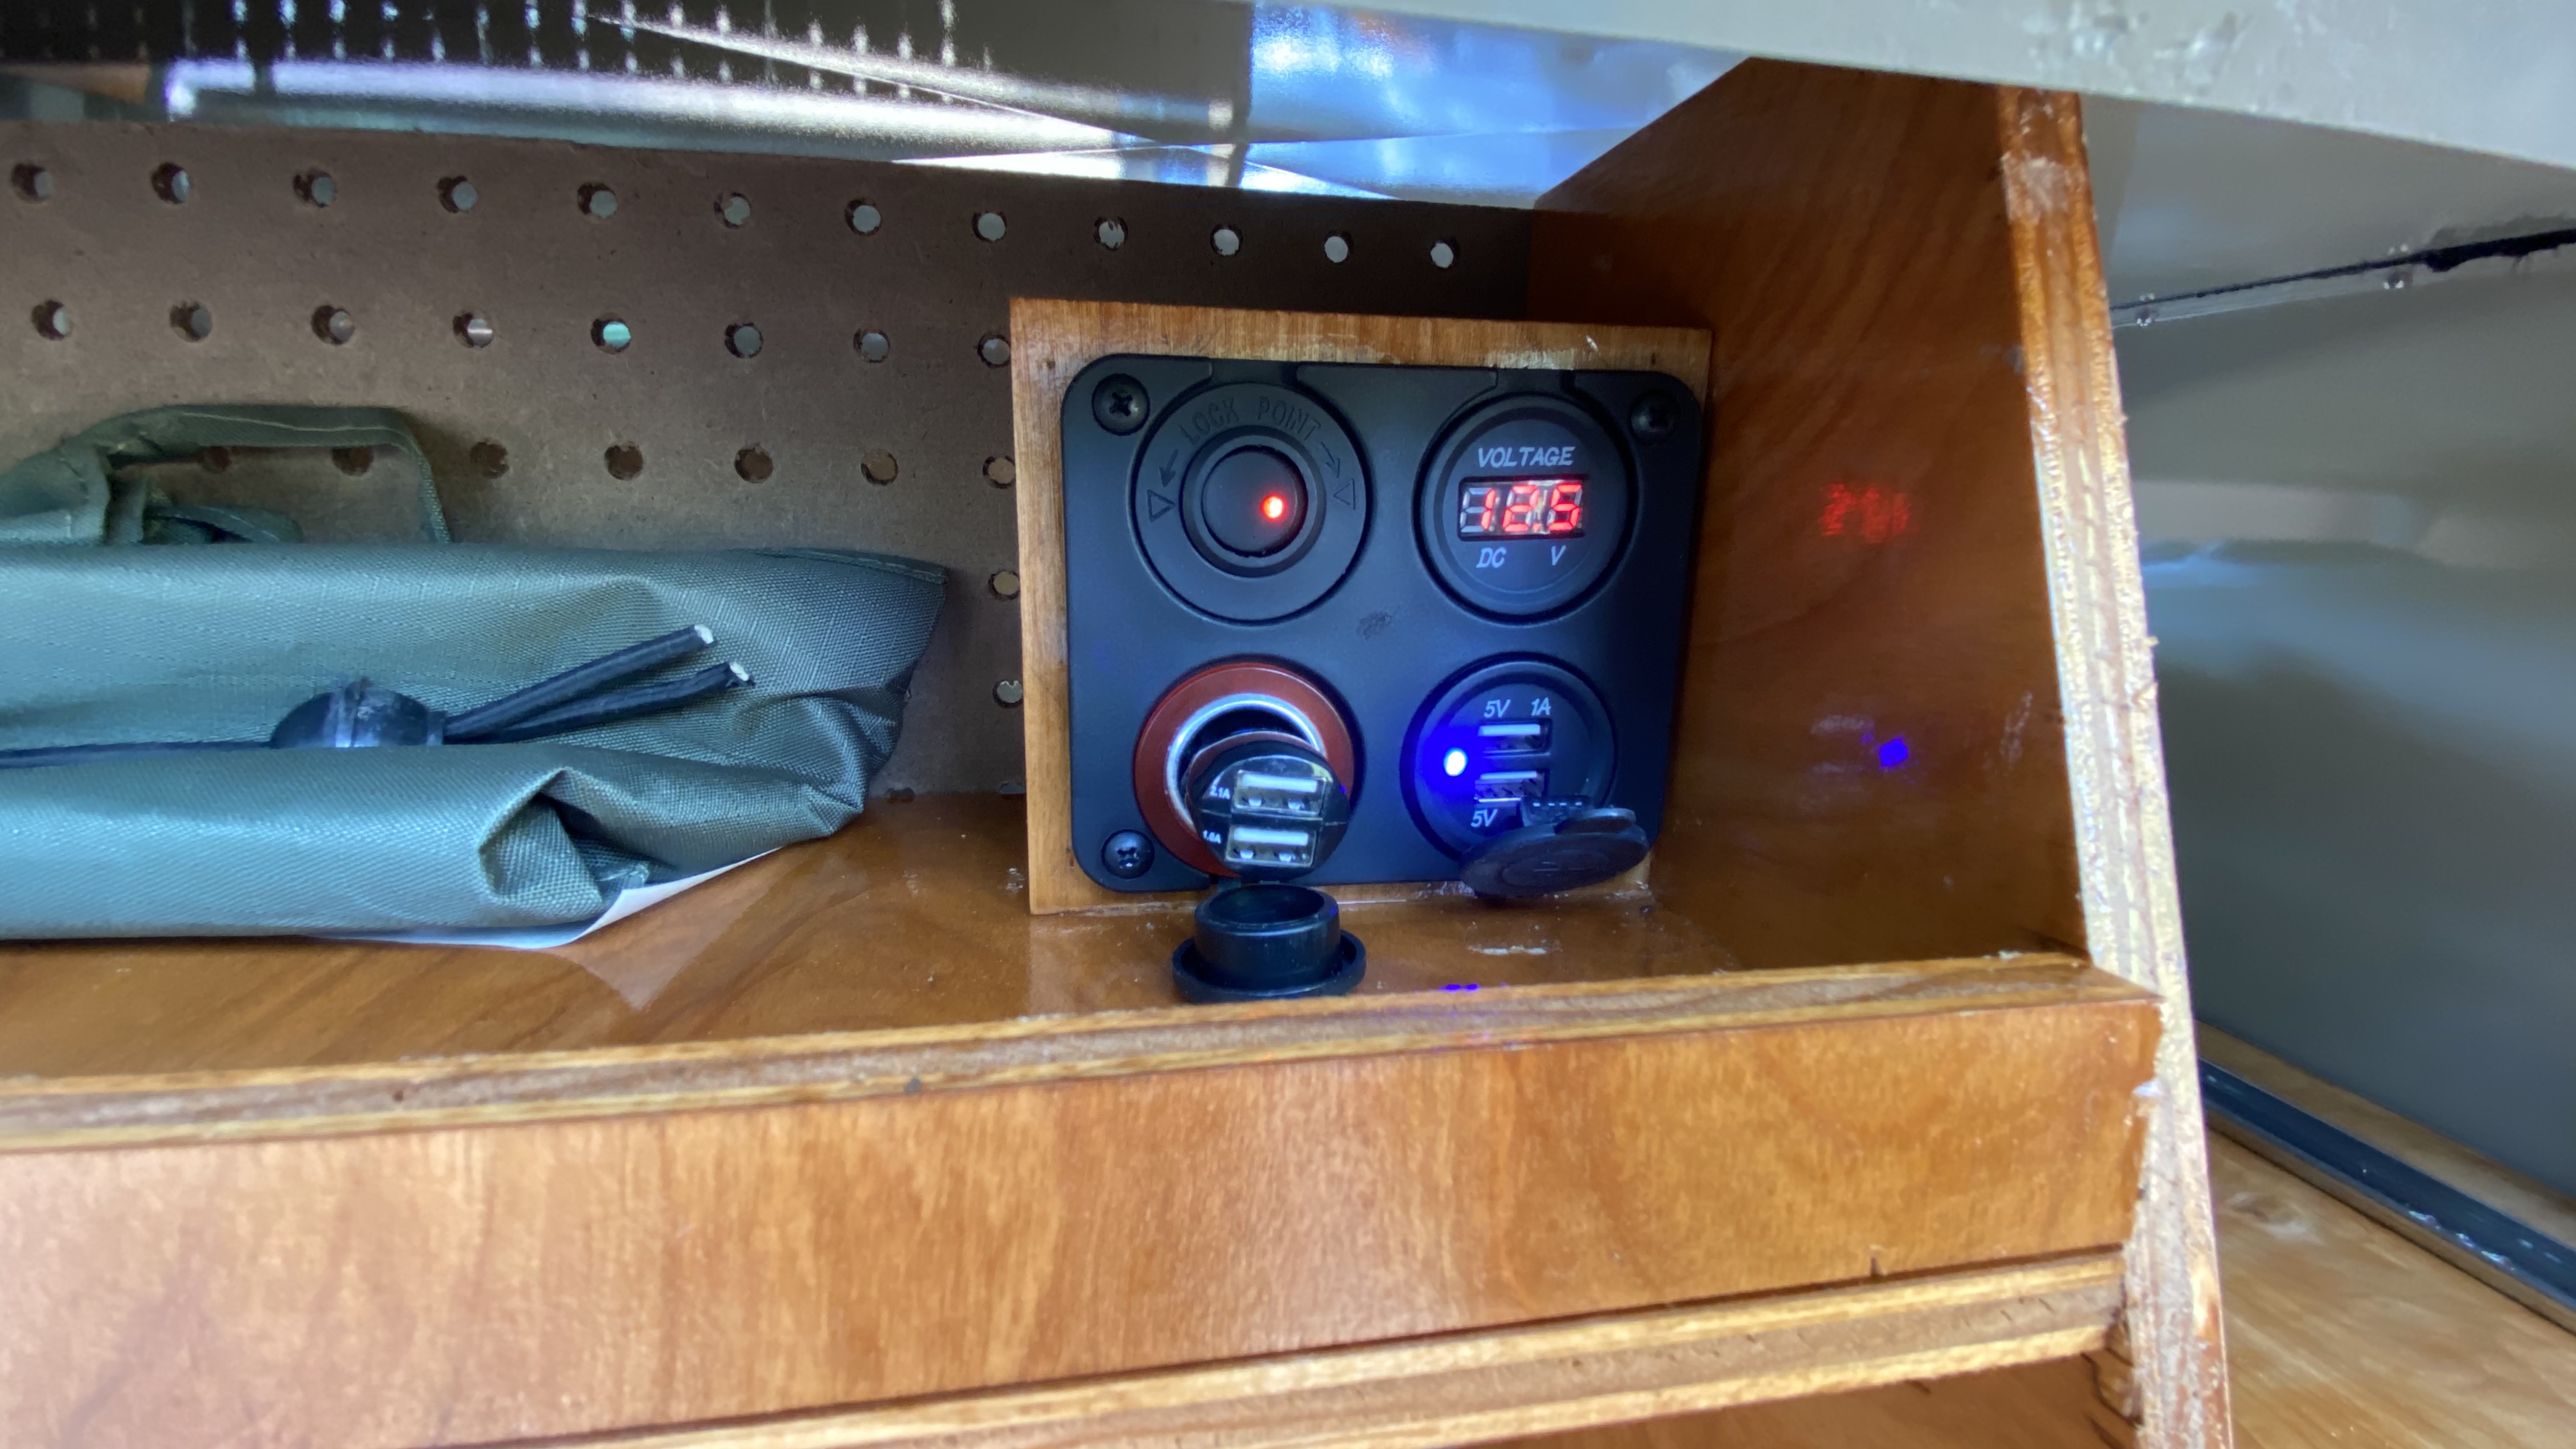
Side storage/shelves were built next. Here is the passenger side. Note the USB and voltage indicator in the right corner of the shelf.

On the driver side, is the master switch panel that controls 12v for the 1) Fridge, 2) Water pump, 3) Dimmable White LEDs, 4) Dimmable Red LEDs, 5) Accessory power for passenger side.


Up top I added a 62 x 24 cargo rack and a Roam Adventures 6.5ft awning and kayak brackets.

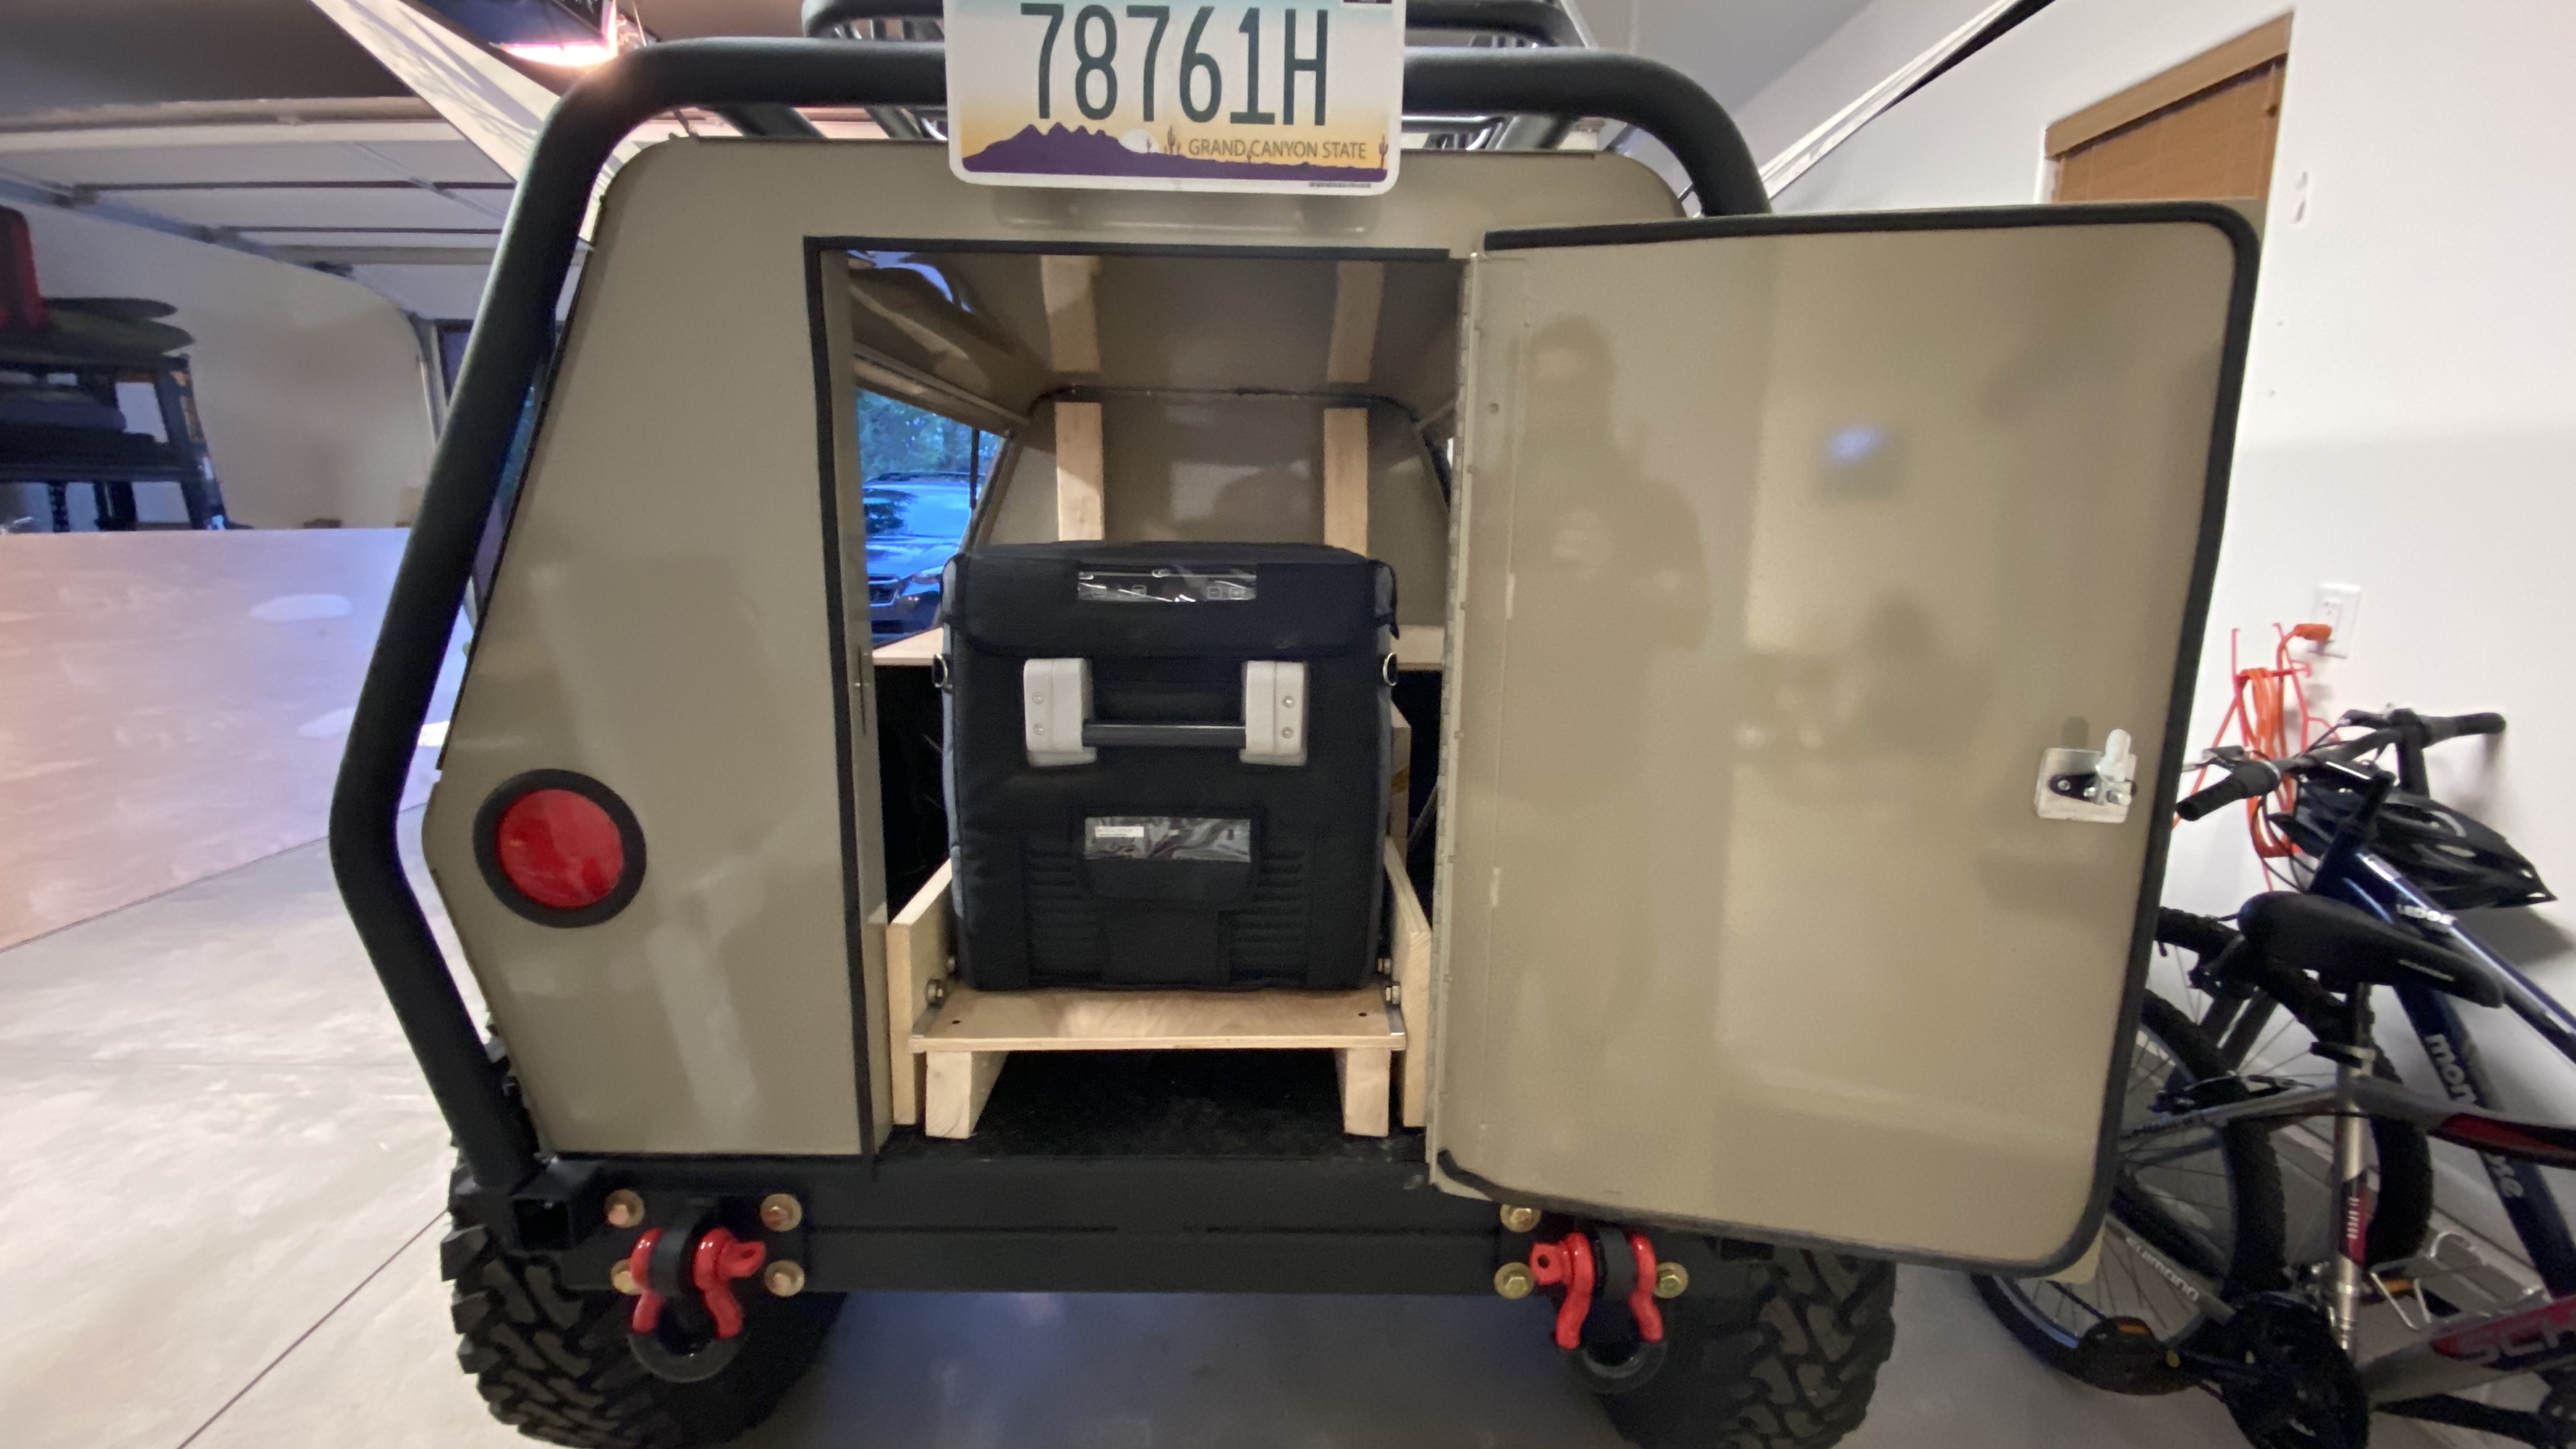
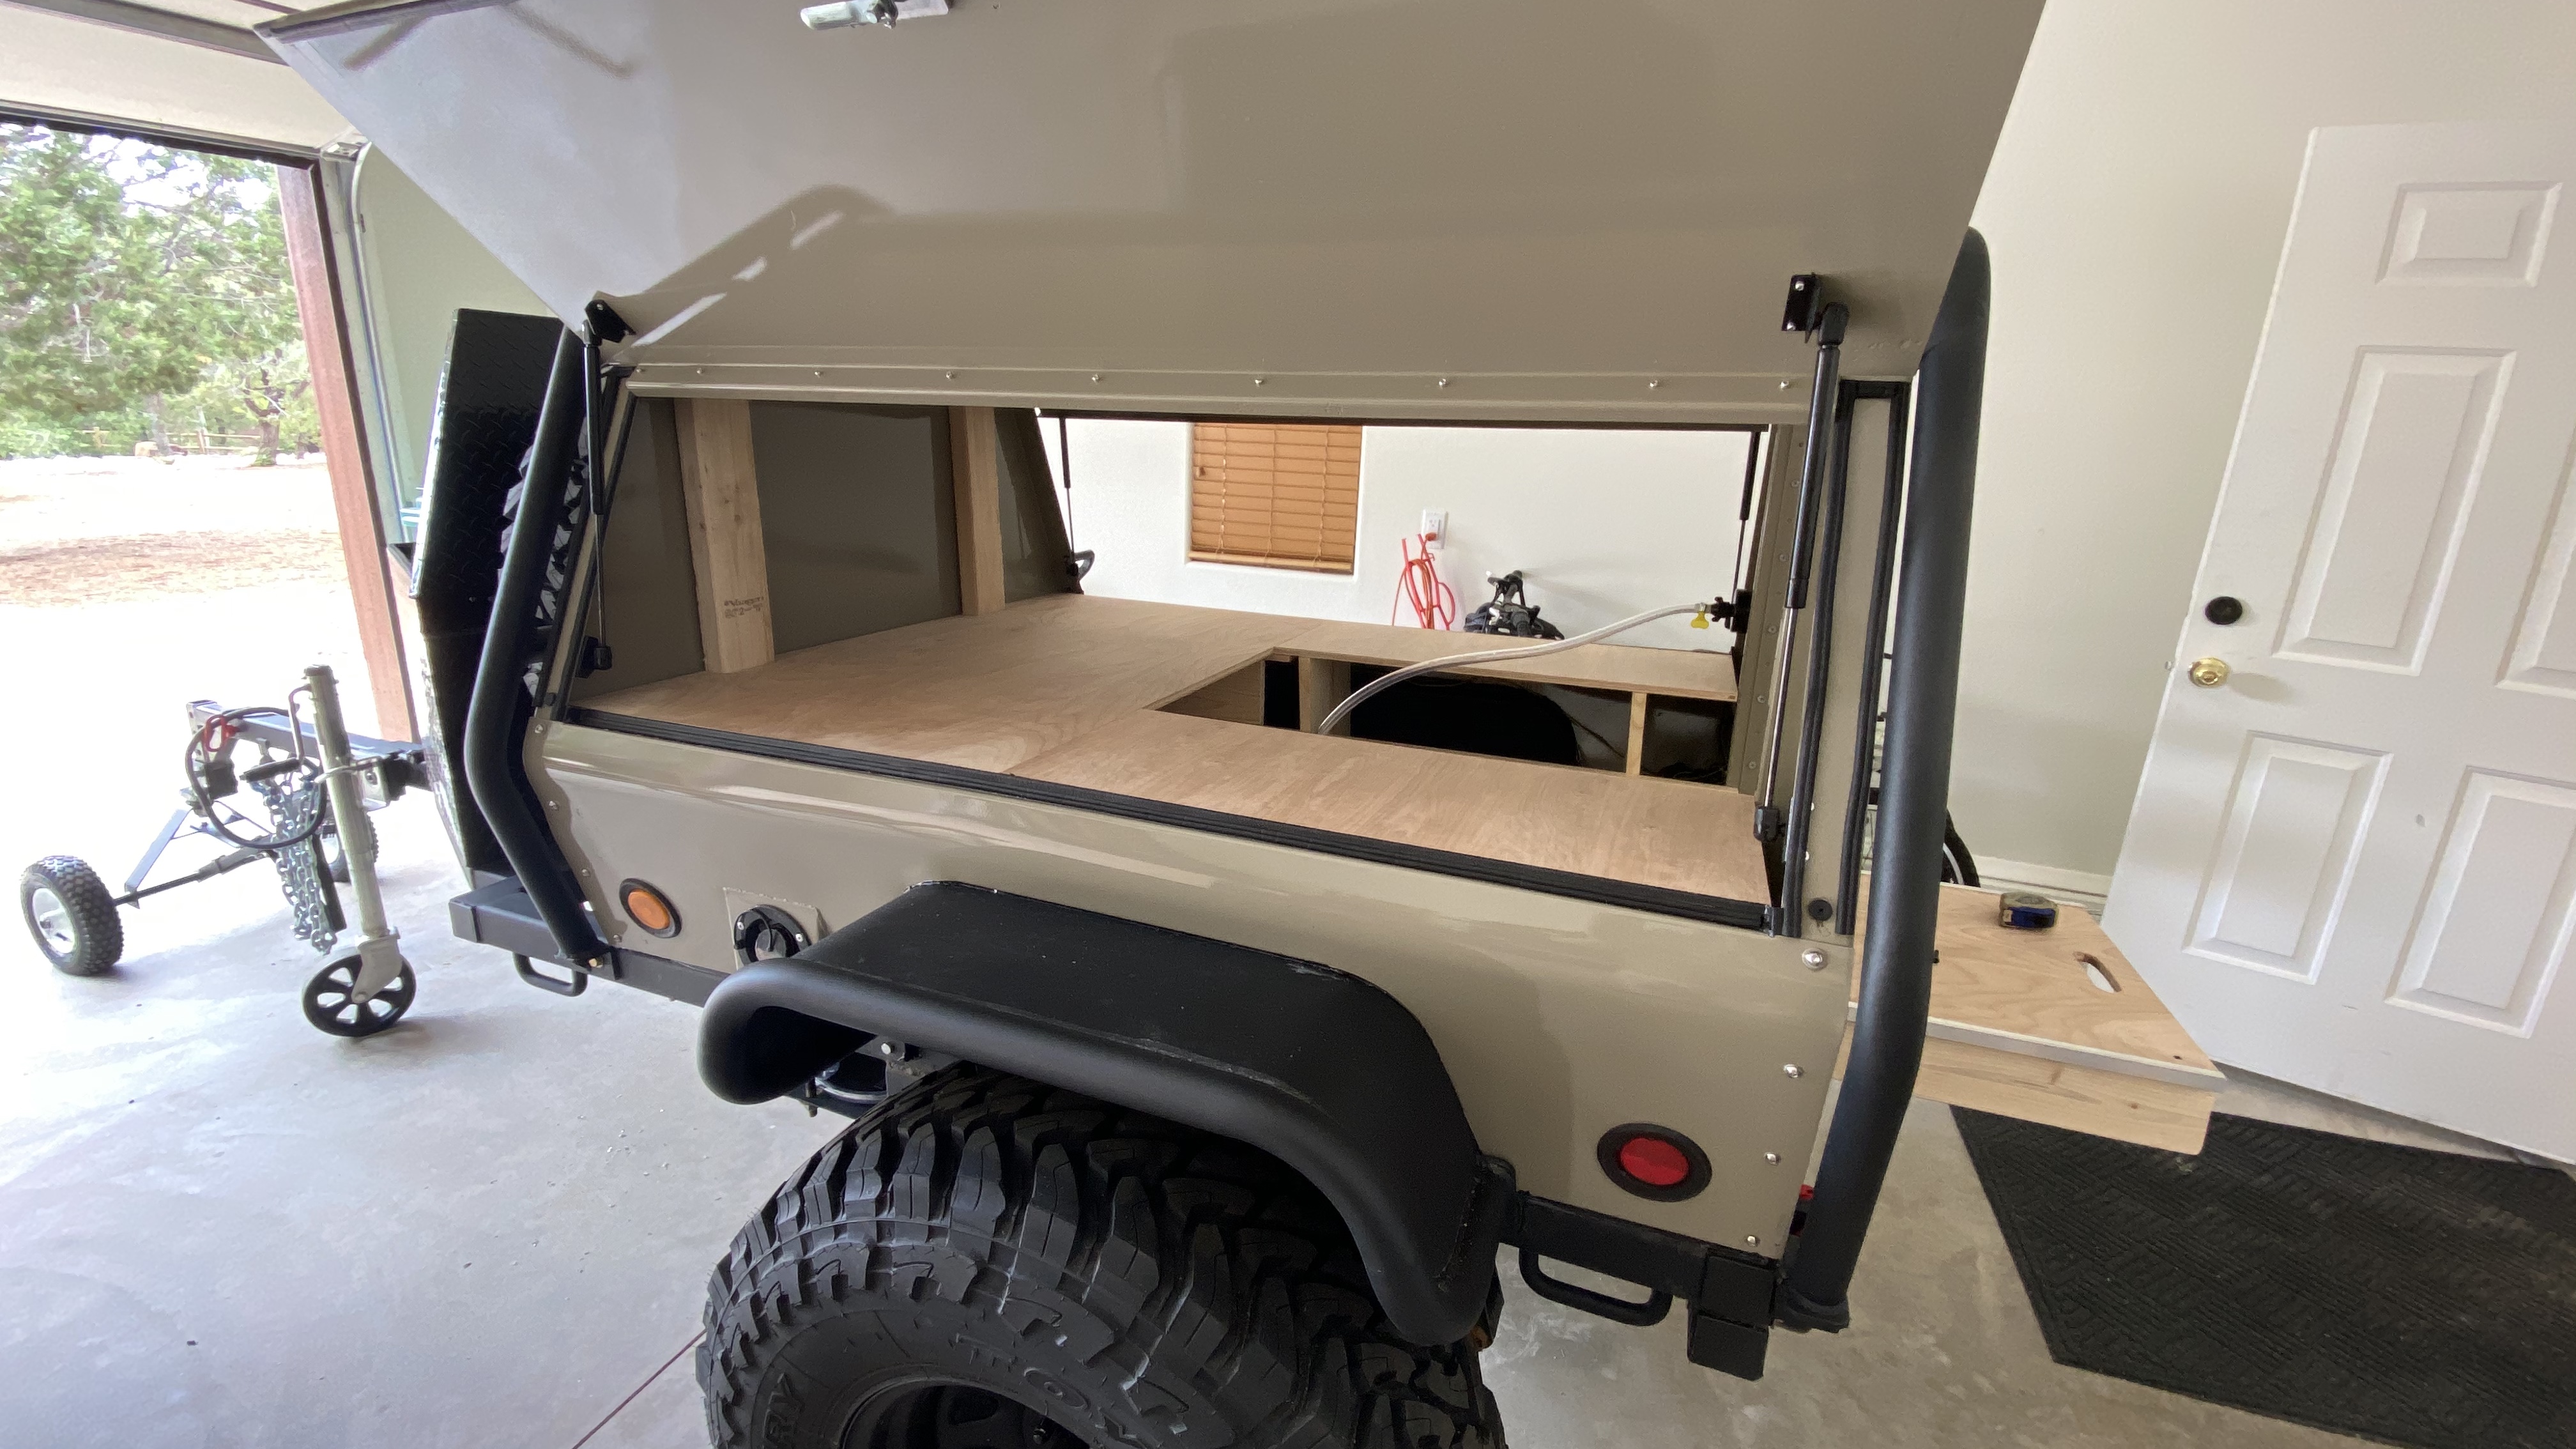
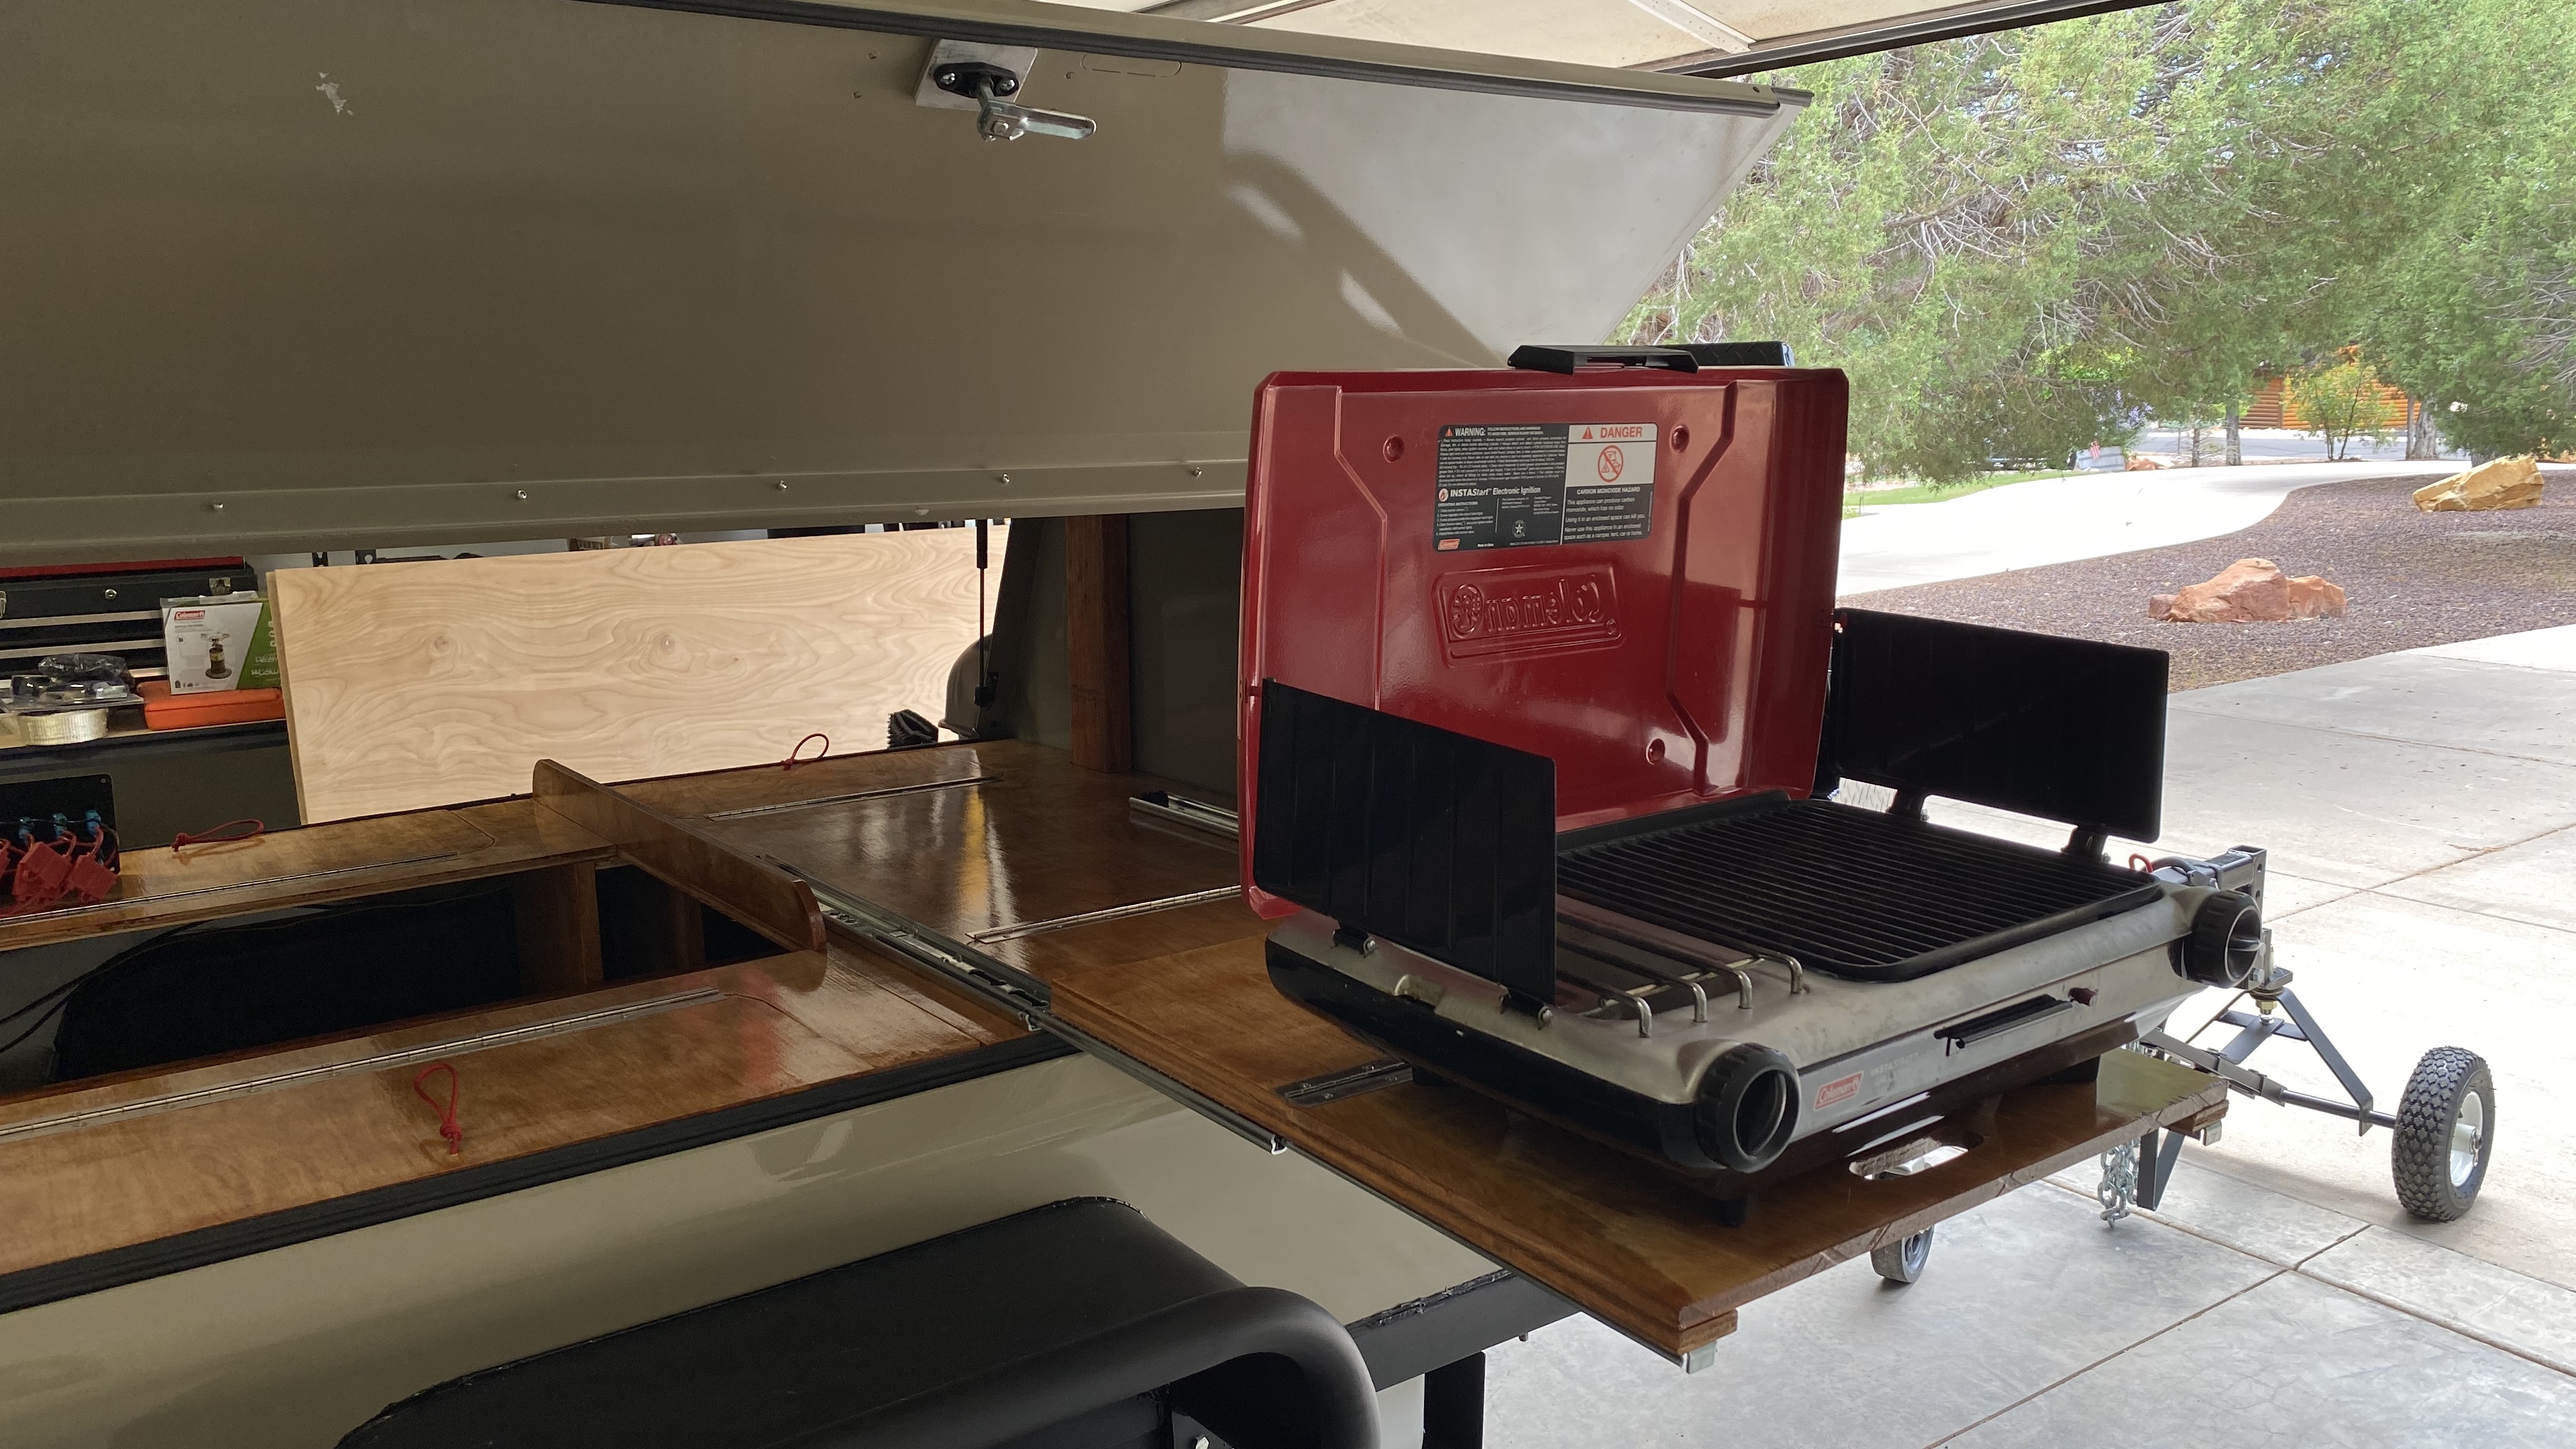
The next four photos are the a progression of the slide fully extended.

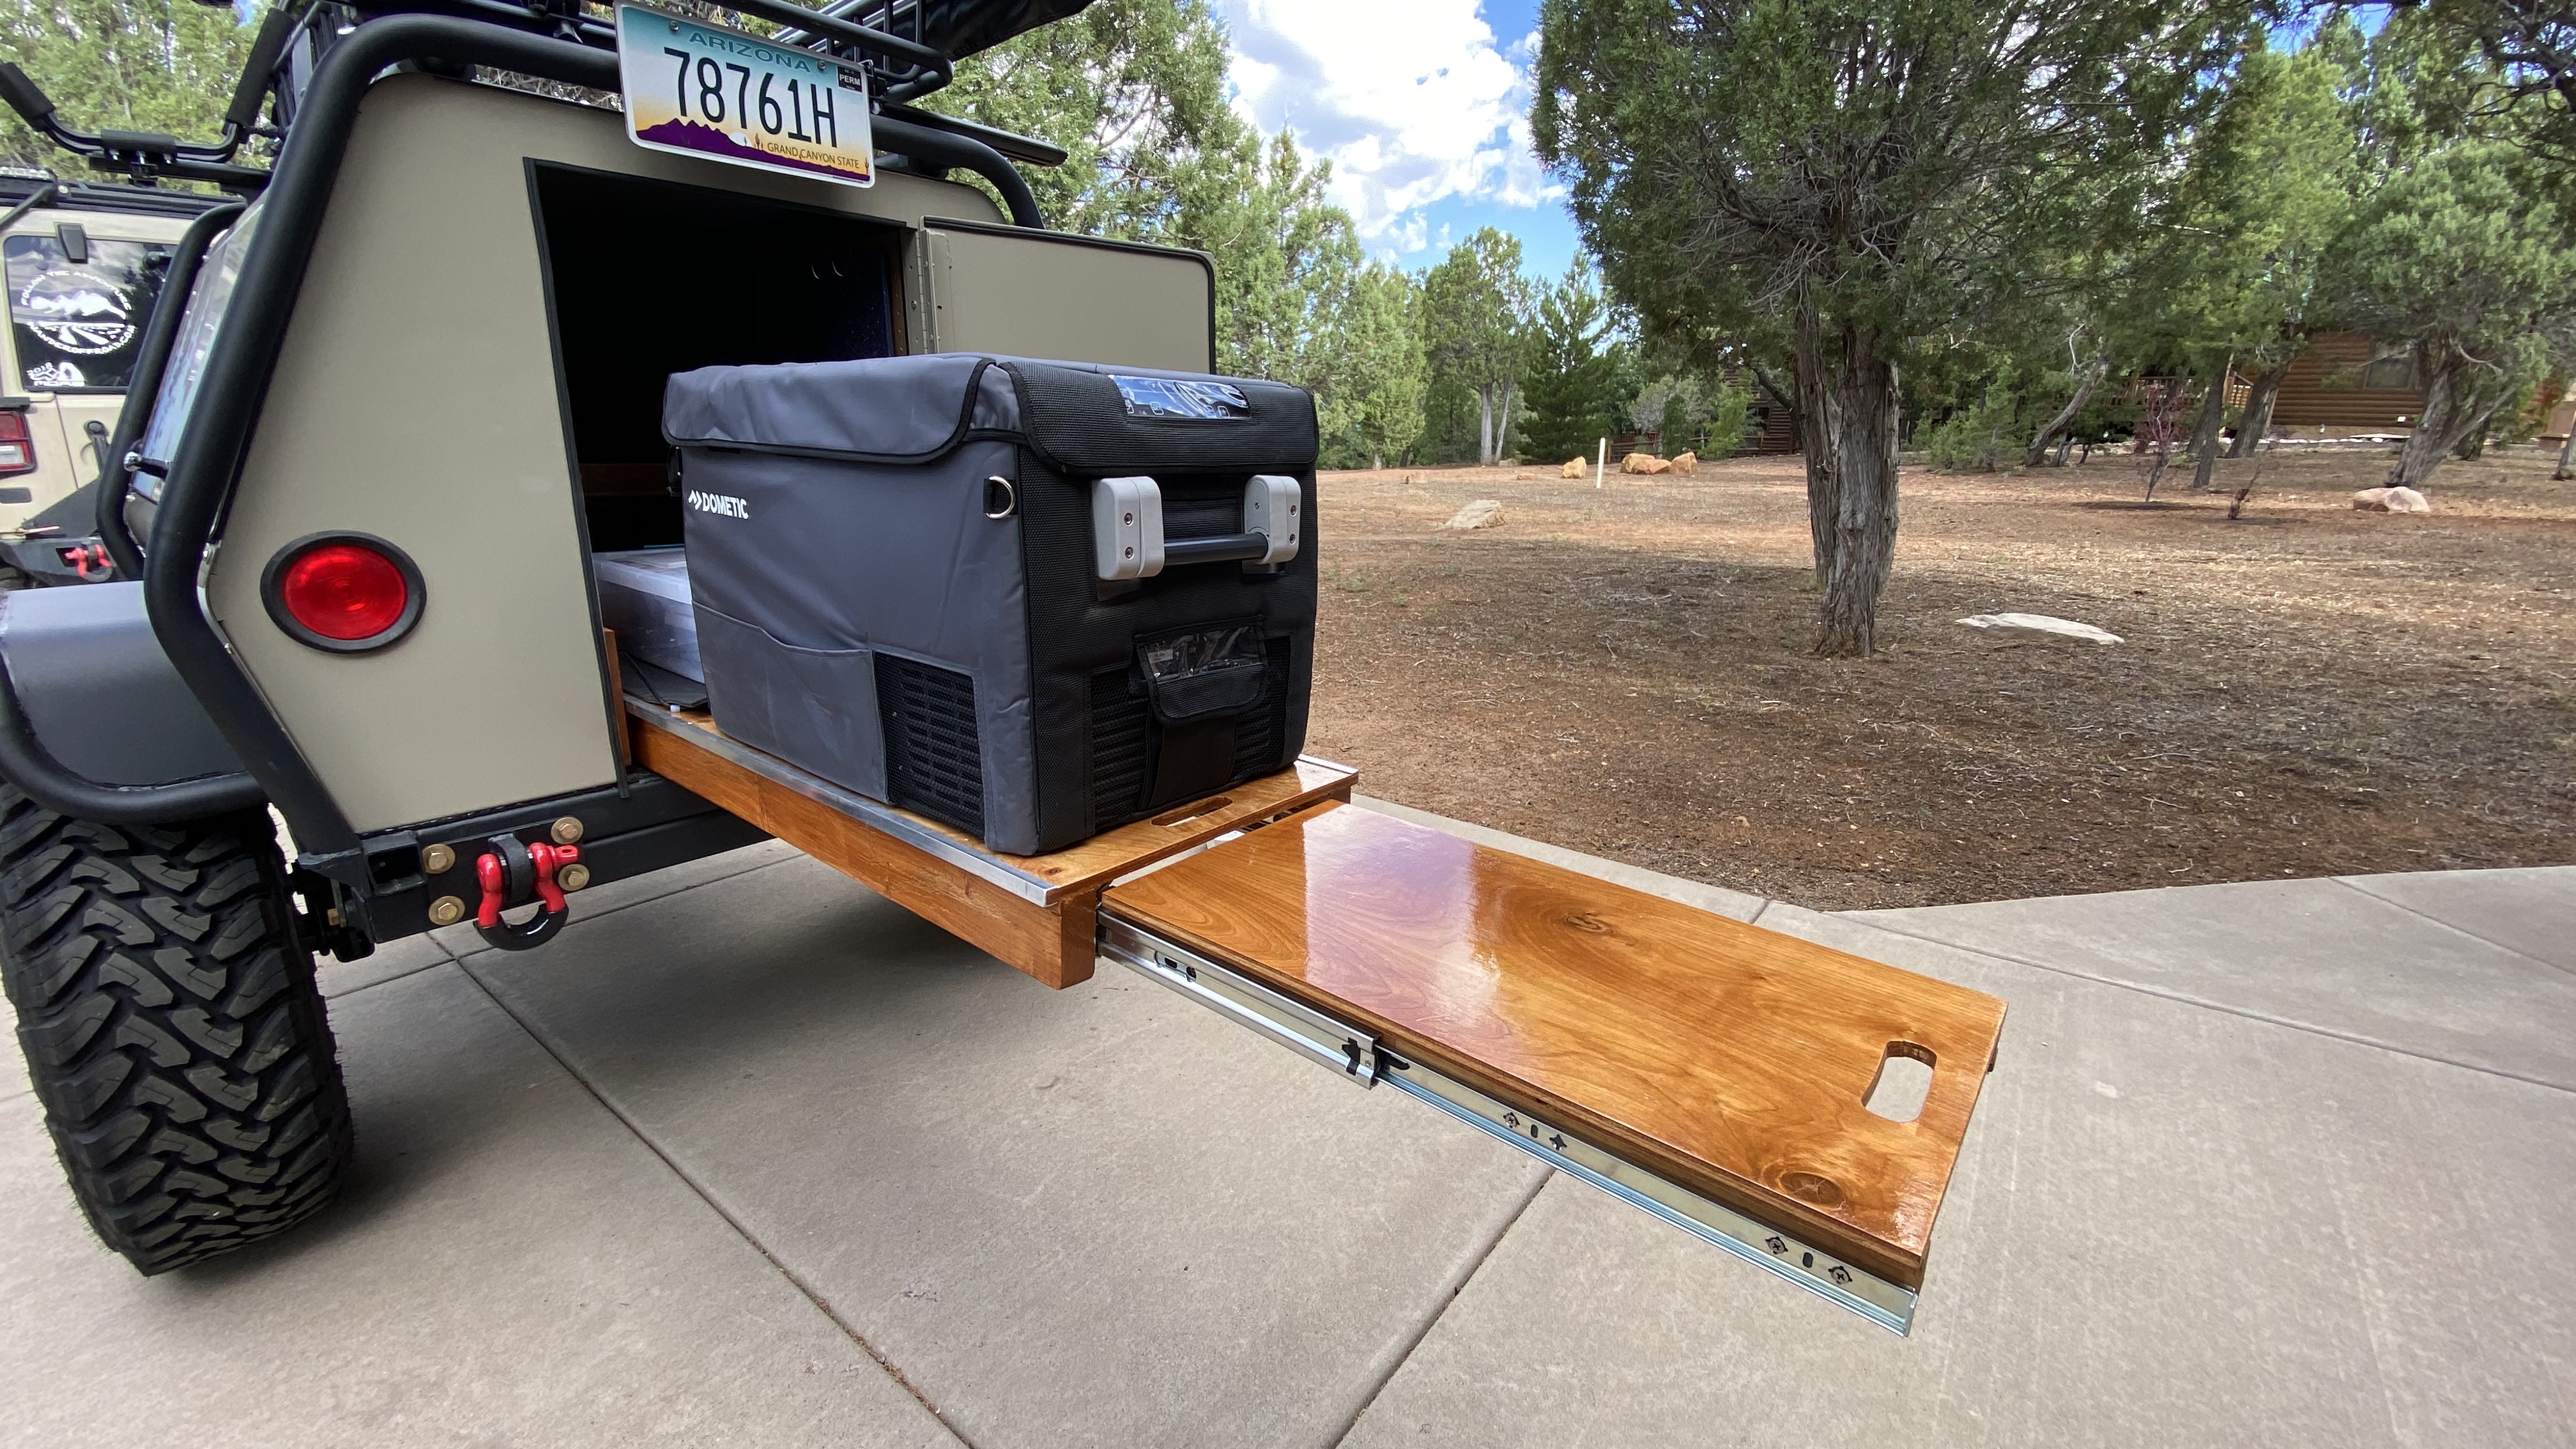
In the tongue box is a 12v deep cycle battery which is connected with 2 gauge wire up to the Jeep. The Jeep has a National Luna Dual Battery setup and when engaged, will charge both the 2nd Jeep battery as well as the third battery in the trailer. Here the wiring still needs a little dressing but everything checks out and operates as it should.

Stay tuned, as we head out on the maiden camping trip and put the trailer through its paces!!

Greens Peak
Wander Offroad explores FS 117 in Sitgreaves National Forest. Greens Peak is the highest point in the area at 10,135 ft. Even in April there was still a lot of snow on the ground, and this is the first time the road was clear enough for us to make it all the way to the top.
Alstrom Point – Part 2
Alstrom Point in Utah has been on our bucket list for several years now. Since we recently moved to Arizona and only a few hours away, it was time to check it out….. We’ll be back again for an extended camping trip!
Alstrom Point
Alstrom Point in Utah has been on our bucket list for several years now. Since we recently moved to Arizona and only a few hours away, it was time to check it out….. We’ll be back again for an extended camping trip!
Desert to Tall Pines – Part 3
Back in April we spent a weekend exploring some of Rim Road, and then down Desert to Tall Pines Scenic Byway south to Roosevelt Lake.
In this video we explore the east side of Roosevelt Lake on Forest Service Rd 60 (A-Cross Rd.). We started at Willow, and ended over at Gardens East. The road straight thru is about 30 miles in length, but with the various side roads to explore took us most of the day and we probably ended up with about 50 miles on the odometer.
The lake itself was created by the construction of the dam in 1911, making it the oldest artificial reservoir in Arizona.
